2022
Page History
...
Log into SalesForce, go to AppExchange Object and type AccountingBook in the search tab and Enter. A new page gets opened

Click on the AccountingBook icon that takes you to a new page where you find the Overview of AccountingBook. You also find different tabs like Details, Overview, Reviews and Provider information in this page.
Overview Tab

- To get AccountingBook installed in your organization click on Get It Now button
...
Once you click on Get It Now button a new page gets opened and you have two options to get AccountingBook installed in your organization.

- Click on Install in production to get AccountingBook installed in SalesForce
- Click on Install in sandbox to get AccountingBook installed in SandBox

On clicking on Get it Now a new page opens, which helps you to start with the installation process.
...
On clicking on the Confirm and Install button a SalesForce login page or a Sandbox login page is opened. Enter SalesForce or Sandbox credentials to start with the installation process.


The installation will run you through the three step process, check each and every step carefully before proceeding to the next; else the installation may need to be uninstalled and should be done all once again. Press on Next button to proceed to the new page


On the second page you will be able to grant access to the users via three categories. Select the appropriate radio button and click on Next

The package is now ready to be installed. Click Install to continue. You will get a message "Your request is in progress. You will be notified by email when it completes" as installation is in progress

You will get a mail from SalesForce.com in your mail box one the package is successfully installed in your Salesforce and you are able to use AccountingBook before customizing few objects.

Now, the AccountingBook package is ready for your use.
Details Tab

- Gives you the description of AccountingBook
- You learn what AccountingBook includes
- Contact information is provided, you can speak to our Support team on the number provide
- The package detail like name, version, type etc is given
Reviews Tab

Don't forget to leave feedback and review on this Tab.
Provider Tab

Provider tab give you the contact details of the Avanika LLC and the and other products available from Avankia LLC.
...
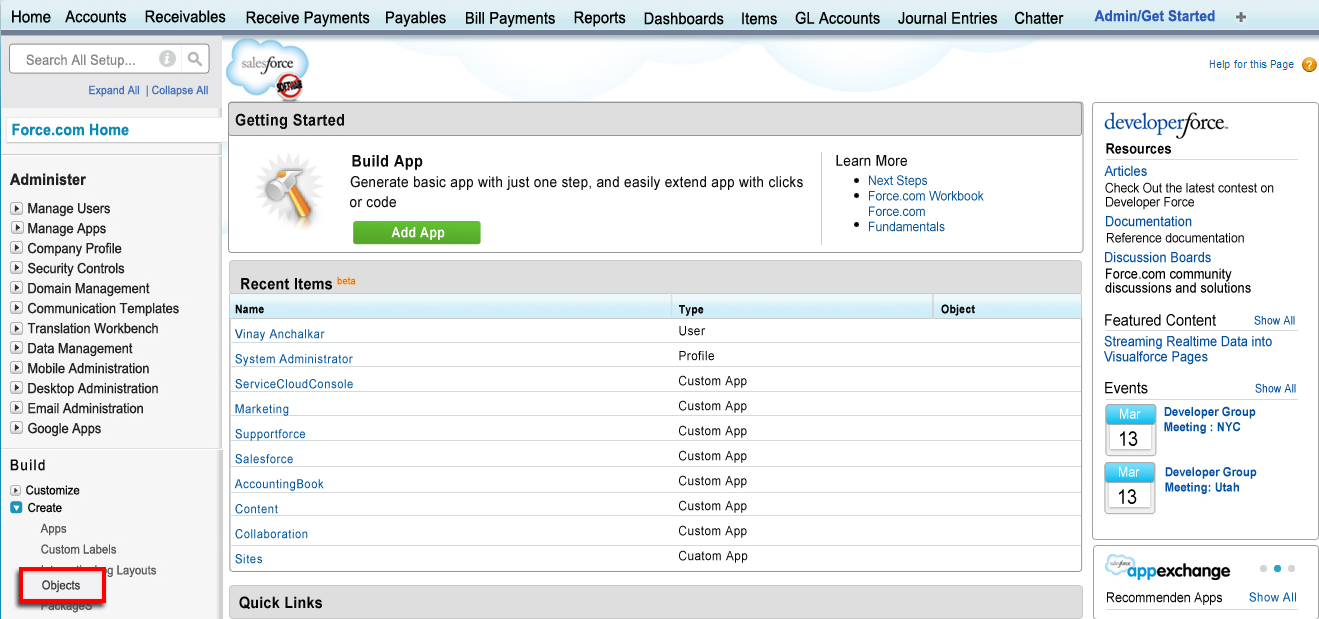
Once the GL Accounts are imported to SandBox or the SalesForce, you are supposed to add the default accounts to the GL Default Setup. To do this, in the home page click on the Admin/Get Started object.

Select the appropriate accounts from the dropdown menu

- From the dropdown menu select the Default Revenue Account
- From the dropdown menu select the Default Cash GL Account
- From the dropdown menu select the Default Bank GL Account
- From the dropdown menu select the Default CC Account
- From the dropdown menu select the Default Revenue Account for Accounts Payable
...
To edit the Account Type, if it is incorrectly spelt click on the Setup Link in the Home Page.

In the new page click on the Packages tab
A new page is opened where you need to click on GL Account Tab as shown below

On clicking the GL Account Tab a new window gets opened where you need to click on Account Type tab in the Custom field & Relationships section

In the new page scroll down to Picklist Values. Click on the Edit link to change the Accounts in the Values column.


Let us take an example of Accounts Receivable value and see how it goes.

- Edit the Account Type to the desired one in the space provided for
- Click on the Save button
...
Goto Setup> under Security Controls Tab> Click Remote Site Setting.

In the new page click on the New Remote Site button

In the new page save the remote site settings by clicking Save button

- Add that in Remote Security setting with name – "Instance"
- Copy the first part of the URL address to the Remote Site URL. Refer the underlined URL in the picture
- Click on Save button, it looks as below once saved

Enable Left side AccountingBook Links

- Goto Setup menu
- Click on Customize
- Click on Home
- Click on Home Page Layouts, a new page gets open

- Click on the Edit link to open a new page

- Tick the check box and close the page, this will create a short cut in the AccountingBook home page the links will take you to the statement of accounts. Refer picture below, each one is the link which will open up as described

This completes AccountingBook Setup
Overview
Content Tools