2022
Page History
For Integration from
...
Salesforce into Quickbooks
- If Quickbooks
...
- Customer
...
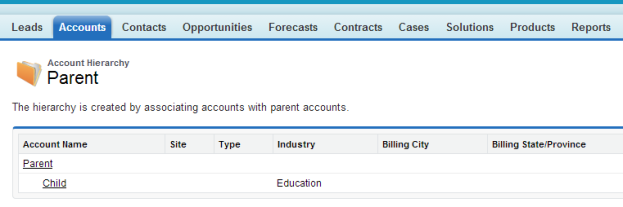
- and Salesforce Account object has hierarchy structures enabled, then the following changes have to be implemented within your DBSync mappings / template to facilitate hierarchy mappings. A typical hierarchy structure in Salesforce Accounts and Quickbooks Customer entities is as shown below.
 .
.
- In the above Screenshot Parent Account is the Parent for Child Account.
- If this Account is Migrated to QuickBooks, then the Account is Migrated with the Parent name into Quickbooks.
- To make changes, go to https://www.mydbsync.com/user/login . Enter your User Name and Password and click on login. The user should have the Administrative Privileges to make changes in MYDBSync instance.

!Customer_hier.png|align=left,border=1,width=399,height=301! !Account_Hier.png|border=1!
- The default mappings within DBSync standard template integrates the above Salesforce Account records as two separate Customer records "Avankia" and DBSync" and not as Parent & Child records.
- Login to your DBSync account with the your credentials to make changes or create hierarchy mappings. Once you have logged into your DBSync account, click on MyHome menu.
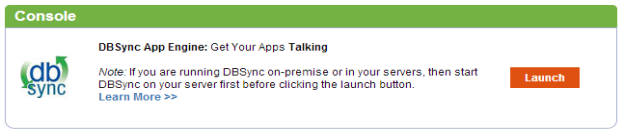
- Click on Launch Button to Launch DBSync integration console.
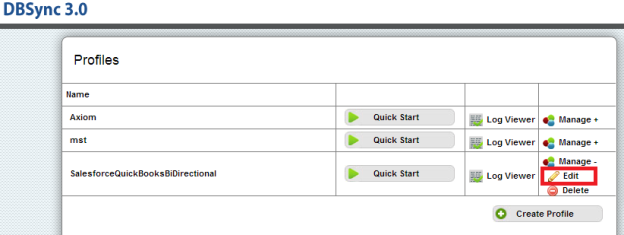
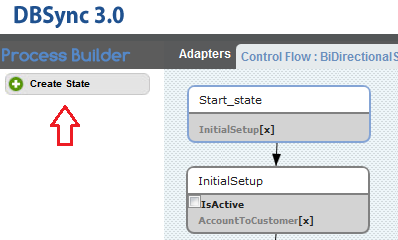
- Click on Edit under the Manage to Launch Manage --> Edit to navigate to the Process Builder Screen for your integration profilepage.
- Double click on BiDirectionalSync process on BiDirectionalSync process on the extreme right hand sidecorner of the Process Builder Page.
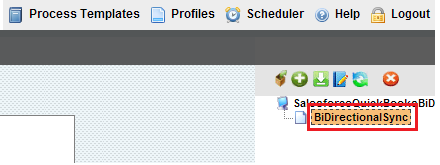
- Once inside the process builder page, create a new state State / Wokflow named as Account to Customer2 as shown below the screen shotillustrated in the below two screenshots.
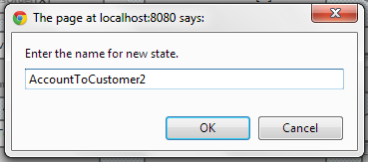
- After Creating the state AccountToCustomer2 place it under the AccountToCustomer state as shown in screen shot.
...
Overview
Content Tools