2022
Page History
...
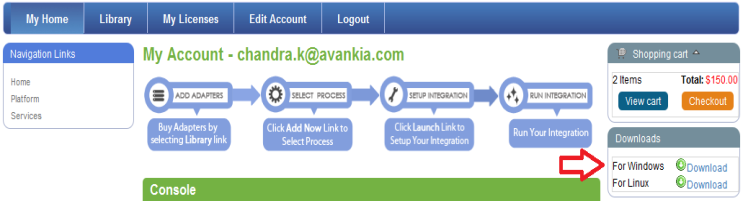
- Download The DBSync application from Download link on the right hand side of the My Home page.
Backing up Profiles and Data
- Open My Computer and go to "C:\ DBSyncIS \ dbsync2 \ WEB-INF \ conf \ db" and copy all the Files and folders to your Backup drive or device. For this demo I have copied all the files and folders of "C:\ DBSyncIS \ dbsync2 \ WEB-INF \ conf \ db" to "D:\DBSyncBackup" folder.
- Go to the Download folder and start the installation by Double Clicking the "DBSync_V2.80" file.
...
- Once the Run button once the Open File Dialog appears. The dialog is shown below:
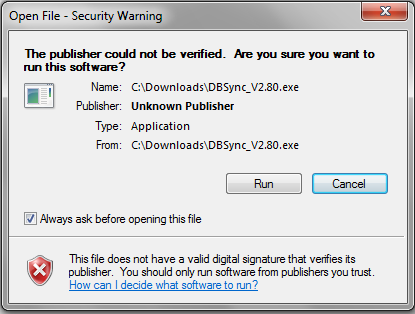
- If the User Access Control window is displayed click on Yes button to authorize the installation.
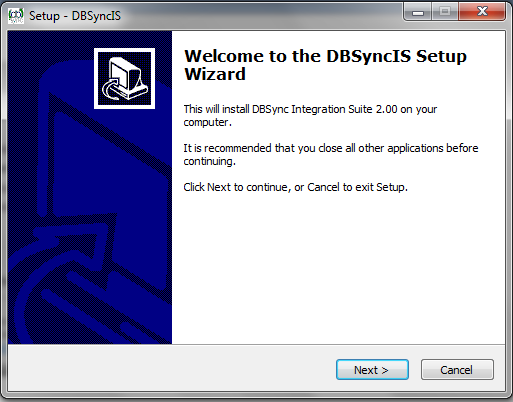
- Click Next on the "Welcome to the DBSync Setup Wizard".
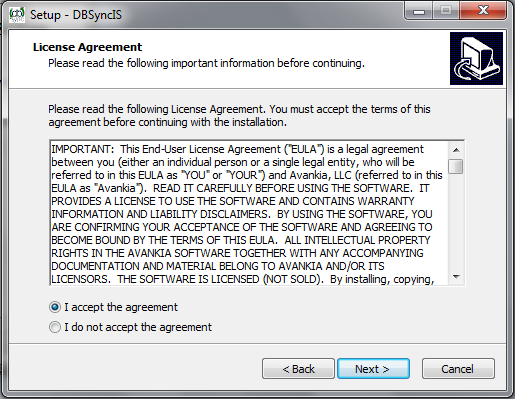
- Accept the License Agreement By selecting the option button "I Accept the agreement" and click on Next.
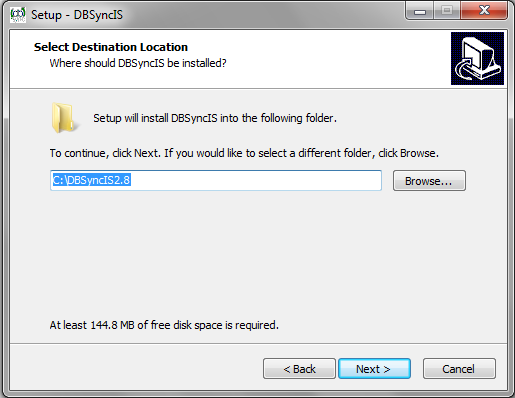
- On Select Destination Location enter C:\DBSyncIS2.8 and click on Next.
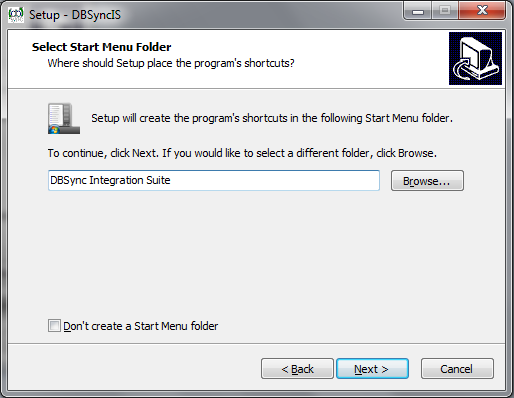
- On the Next Screen Click on Next Button.
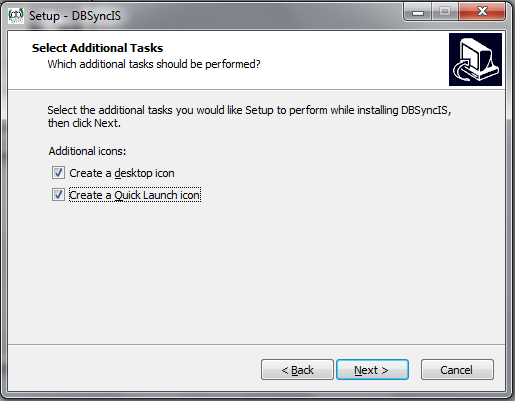
- On the Next Screen check your optional checkbox for Desktop Icon and QuickLaunch Icon and click on Next button.
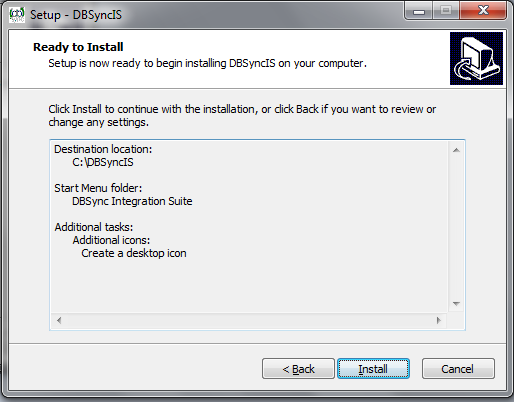
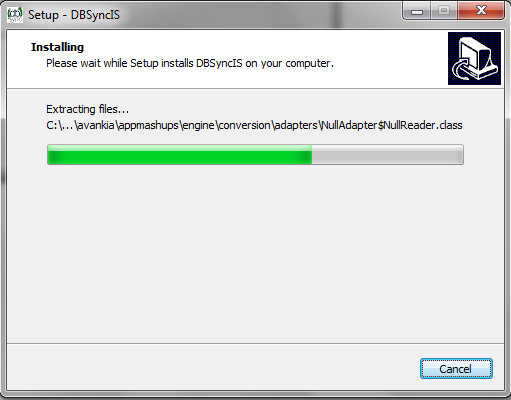
- Click on Install button to go ahead with installation. After that installation you will be presented with installation progress button. Both the windows are shown below respectively:
- Once the installation progress is done you will be presented with a window with an option to set DBSync as service. If you wish to set it as a service check the Check box "Set DBSync as Service".
...
- Once done with Installation copy all the Backup files and folders in "C:\DBSyncIS2.8\dbsync2\WEB-INF\conf\db" folder. If you are not using DBSync as a Service you upgrade is done and you are now ready to use DBSync 2.
- Ac
- Ac
- ac
- ac
- 8 version*.*
Overview
Content Tools