2022
Page History
...
- Under the left Navigation, Click on Connectors tab.
- In the connectors module click on
 button, a pop opens up, where connector name and connector type are added.
 - In case of our example, we require 2 Connectors - Salesforce and QuickBooks:
1.Connecting Salesforce
Step 1 : Post entering connector name and connector type as shown in the image below , click ![]() button.
button.
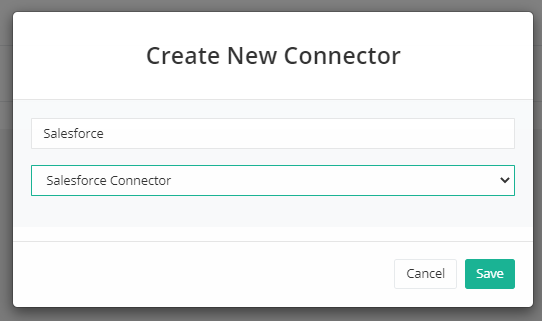
This will Open to a new Tab, where the Salesforce instance connection will be established by adding your Salesforce Credentials.
2. Connecting QuickBooks
Post entering connector name and connector type as shown in the image below , click ![]() button.
button.
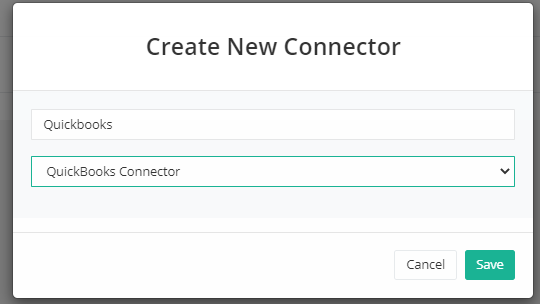
This will Open to a new Tab, where the Quickbooks instance connection will be established by adding your QuickBooks Credentials.
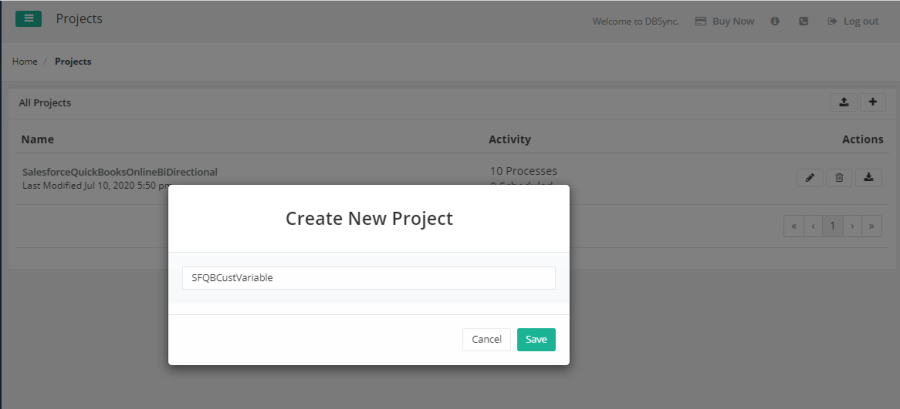
Once the Connectors configuration setup is ready, let's start by creating a new Project by clicking on the Left Navigation > Projects tab.
It's always a good practice to start from creating a new project for new tasks, this way the exercise seems to be more effective.
Step 2: Creating a New Project - SFQBCustVariable
...
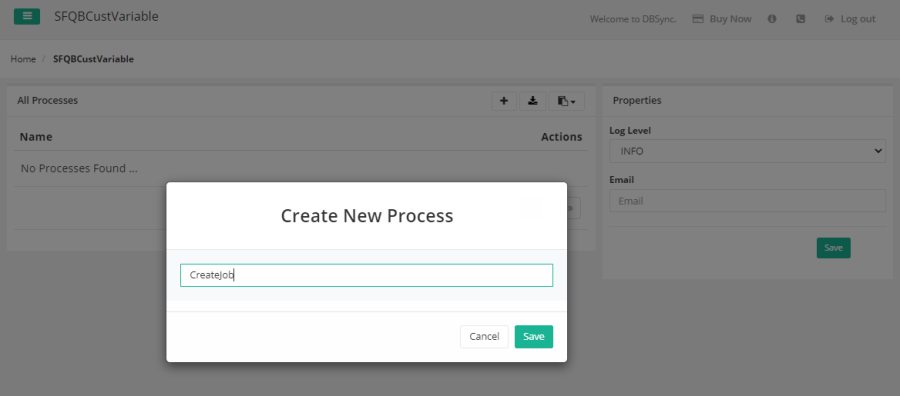
Project 'SFQBCustVariable' > create a new Process – Createjob
Step 4: Creating a New Workflow
...
- Post adding the details, click on
 button.
 - And in the Workflow screen > click on
 .
.
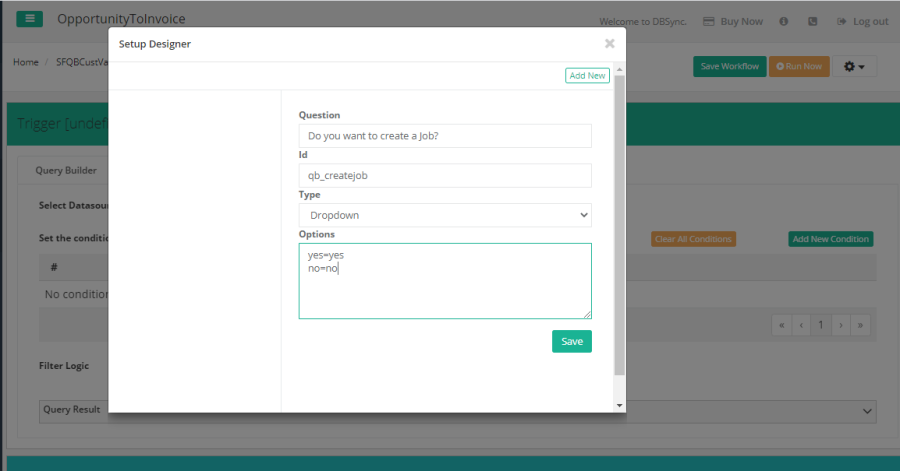
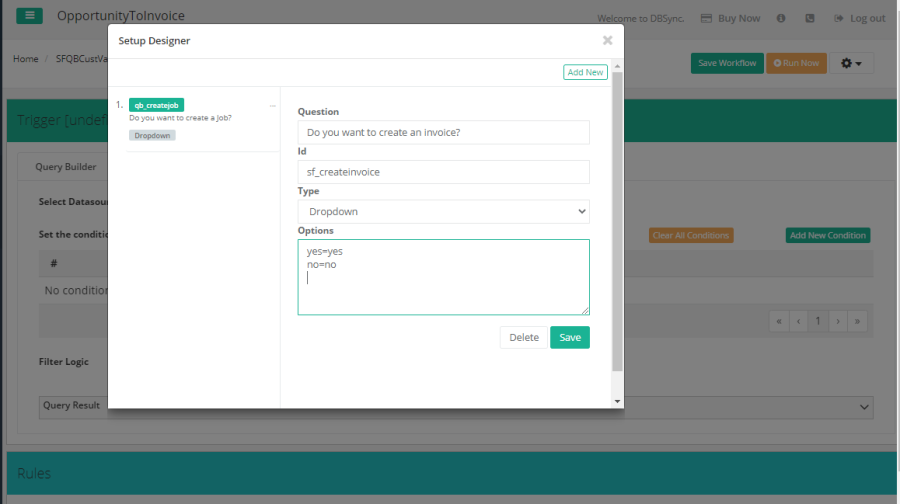
Similarly, many custom variables can be added and saved based on need.
...
Workflow 'OpportunityToInvoice', Edit the workflow > Trigger Setup
Here it is necessary to ensure the Connectors and the Rules are configured. Example instance is shown below,
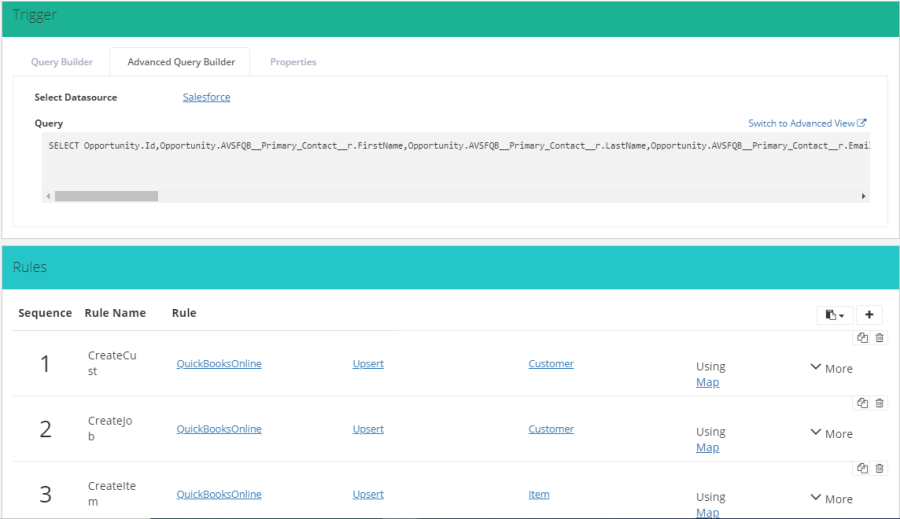
Please note, in this example, Rules > Mapping Screen has to be altered. Fields inside the mapping have to be based on the requisite.
In our Example instance, Under Rules section > 2 Createjob - Click Map 
Since the task is to Create a job or not as per user input, please note, custom variables can be accessed same as Source Schema variables, by using drag and drop feature or by double-clicking on a custom variable. Post addition of custom variables, the developer can make necessary changes in the mapping using this field as per expected output.
In our example instance, the following fields were altered in the Mapping Screen,
![]()

In the Mapping screen, post making the changes, click ![]() button.
button.
...
Overview
Content Tools