2022
Page History
...
- Go to the Download folder and start the installation by right-clicking and selecting "Run as Administrator" on the "DBSync_V31.exe" file.
- Click on the Run button once the Open File Dialog appears. The dialog is shown below:
If the User Access Control window is displayed click on Yes button to authorize the installation. - Click Click on Next on the "Welcome to the DBSync Setup Wizard" window.

- Accept the License Agreement By by selecting the option button "I accept the agreement" and click on Next.
On Select Destination Location default is
- The default windows path for DBSync installation is C:\ DBSyncIS29, DBSyncIS31. If you want you can select any other folder by clicking browse and click on Next.
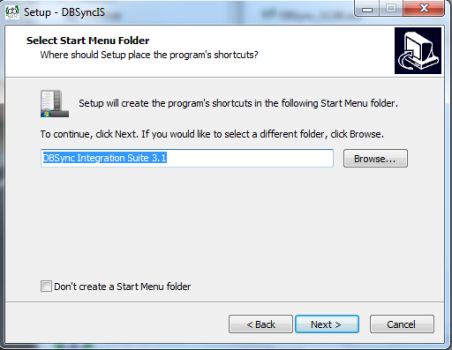
- On the Start Menu Folder Screen Click on Next Button.
- On the Next Screen to use a different folder, click on the Browse button and select a desired location to install DBSync.

- Select the desired Start menu folder name or leave it unchanged to use the default folder and click on Next button. You can un-check the option below if you don't wish to create a Start menu folder.
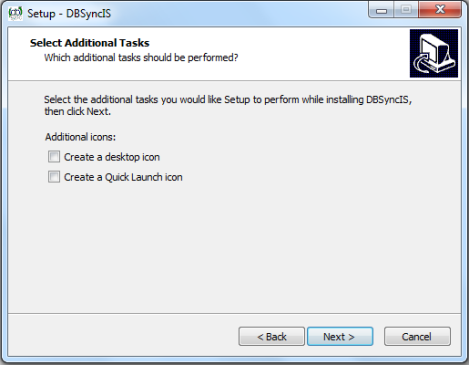
- On the next window, select the check-boxes for Create Desktop Icon and Create a Quick Launch icon and if you wish to have DBSync shortcuts on your desktop and click on Next button.
- Click on Install button to go ahead proceed with installation. After clicking next you will be presented with installation progress window . Both the windows are as shown below respectively:
.
- Once the installation process is done you will be presented with a window with an option to set DBSync as service. If you wish to set it as a service, check the Check box "Set DBSync as Service" and click on Finish button.
...
Overview
Content Tools