2022
Page History
...
Disabling jobs in Quickbooks Online template requires one to access the dbsync console as it cannot be disabled via Quickstart window. The following section illustrates provides you step-by-step instruction on the same.
- Login to your dbsync console as shown in the above Quickbooks desktop section.
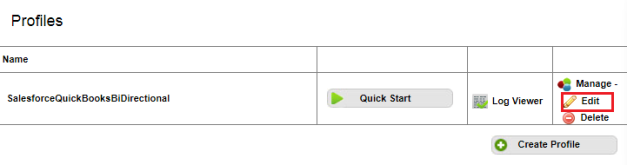
- Click on Manage--> edit link as shown below.
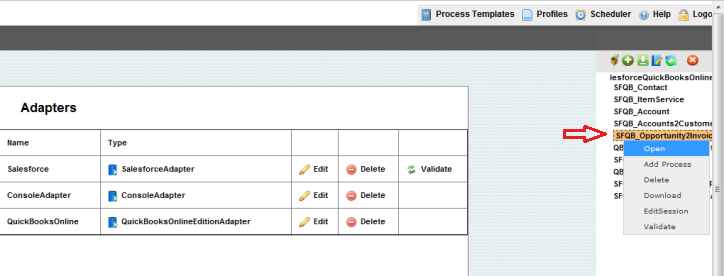
- Once you are into the Process Builder page, open the SFQB_Opportunity2Invoice PDL either by double-clicking on the the PDL or by doing right-click and selecting Open as illustrated in the below screenshot.
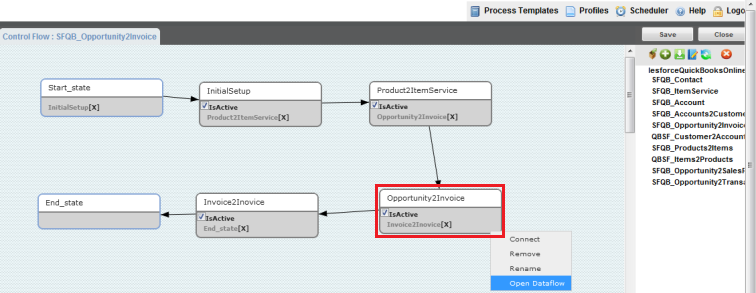
- Once you have opened the SFQB_Opportunity2Invoice PDL, click on the Opportunity2Invoice box as shown either by double-clicking on it or by doing a right-click and selecting Open from the menu.
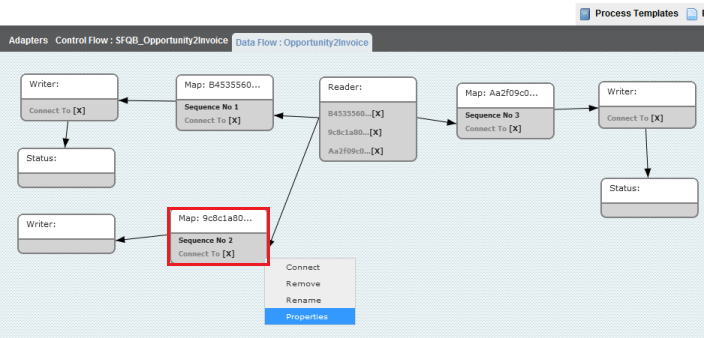
- Once you have opened the Opportunity2Invoice workflow, right-click on the mapping Sequence No 2 and select Properties from the menu as shown.
- Scroll to the bottom of the page and click on the edit link to open the mapping in a new tab or a new window as shown.

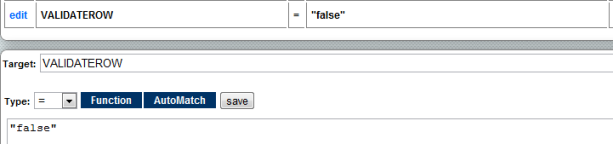
- Make the following changes to the Validate Row as "false" as shown.
- Now, open mapping Sequence No 3 page the same way you opened Sequence No 2 and make the following changes to Source and Target Mappings.
- Find target field "InvoiceAddRq/InvoiceAdd/CustomerRef/FullName" and replace the source code by copy-pasting the following.
Code Block IF(ISEMPTY((String)SESSION_GET("CreateJobFlag")),LEFT(VALUE("Account/Name"),41),LEFT(VALUE("Account/Name"),41)+":"+ LEFT(VALUE("Name"),41))
Overview
Content Tools