2022
Page History
Login Page
1. Open your internet browser.
2. Enter the URL http://dbsync05.appmashups.com:6080/appcenter/login
3. The DBSync Log In Page is displayed.
Field Name | Description | Example | |
|---|---|---|---|
Username | Enter the Username | <<user name>> | |
Password | Enter the Password | <<password>> | |
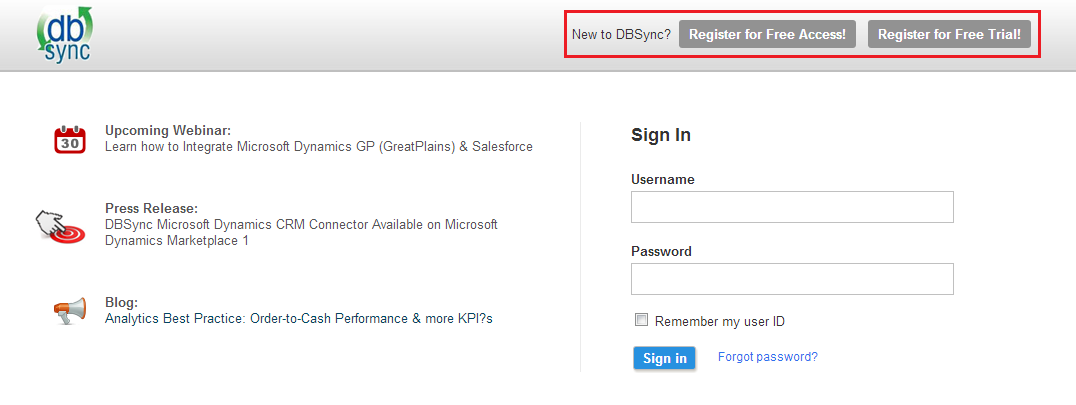
4. After entering your Username and Password, click on Sign in to access your profile page.
5. If you are not a registered user, you can register for a free trial by clicking on Register for Free Trial!. The DBSync 3.2 Register page displays.
Note : All fields with* mark are mandatory to enter.
Field Name | Description | Example |
|---|---|---|
First Name * | Enter the first name | User |
Last Name * | Enter the Last name | S |
Company Address 2 | Enter the company address | <<Your Company Name>> |
Email * | Enter the Email ID of the user | user@avankia.com |
Password * | Enter the password of the user |
|
Phone * | Enter the phone number | 1-877-739-2818 |
Source Adapter * | Select the Source Adapter | Salesforce |
Target Adapter * | Select the Target Adapter | QuickBooks |
License Agreement | Displays the license agreement and terms and conditions |
|
After entering all the fields, complete Captcha and check the “I understand and agree to the above statement” check box
6. Click Register to register the details. The successful registration message displays after registering the details.
Home Page
Once you login, you can click on Launch to access DBSync home page. The following gives you briefing on the DBSync menu objects.

Fig.1 Home Page
Menu Name | Description |
|---|---|
Process Templates | Displays the ready to use (default) mappings.By going through the description and overview hyperlink profiles, you can identify the profiles that support your needs. Click on the ‘Add’ hyperlink next to the profile in the library, to add the ready profiles to your login. |
Profiles | Allows you to view the existing profiles. Based on your DBSync Account privileges, you will be able to edit the profile details. |
Scheduler | Schedule the profile process and set the cron settings. |
Help | Displays the DBSync Wiki page. |
Logout | Exit the application. |
|
|
Link Names | Description |
|---|---|
Create Profile | Enter the profile name to create a new profile. |
Message Center | Displays the information related to DBSync application and other related news. |
My Licenses | Adapters support profile repository features and My Licenses helps you to identify your Registration Details. |
Quick Links | Quick links helps you to view the information easily. |
Help | Displays the DBSync Wiki page. |
Knowledgebase | Provides information on the application such as FAQ, troubleshooting and so on. |
Mapping Library | Helps you to map the library components in the database. |
Tutorials | Provides the knowledge on the application. |
Contact Support | Provides you the contact support for the technical queries. |
Get Started | The link for each profile which helps the end-user to move great chunks of data at one shot. |
Library
The Library component allows you to import the ready profiles with the default mappings for the respective integration adapters such as Salesforce, QuickBooks, Databases and so on.
- Click on the View More button associated with each process to know more about the ready-to-use integration templates.
- Click on the Overview and FAQ tabs to know more about the selected Integration profile and how it can cater to your Business needs.
- Click on the Add button to add the Integration process template to your DBSync profile.
Note: Once you import the profile from the library, the application leads you directly to the Profile Page.
The profile page has configurations for your profile adapters.Rules are mapping conditions synonymous to "Transformations", Intermediary process is where logic is applied to the extracted information from the source systems before being written to Targeted systems.
The screen below illustrates the Rule section. 
| Panel |
|---|
Add New Rule |
Create a new rule - "Add New Rule".
Every Rule has two sections - (1) Target Section; and, (2) Update source section.
- The user has to select the Target section (i.e Connector of DBSync).
- Select the operation and object to set the mapping from the map link.
- Users can check the update source. If the target system has to notify the source system, then the user should select the connector, operation, and object.
- Set the connector, operation, and object on success and failure maps.
| Panel |
|---|
Map |
- The section illustrates how fields of source and target systems will be mapped for the integration to take place. This is an important step because it helps DBSync to match fields of source and target systems.
- The mapping - of source fields to target fields - can be applied by clicking on the fields from the schema. The user can also apply functions from the "Functions" tab so that value can be transformed before being written to the target systems.

Overview
Content Tools