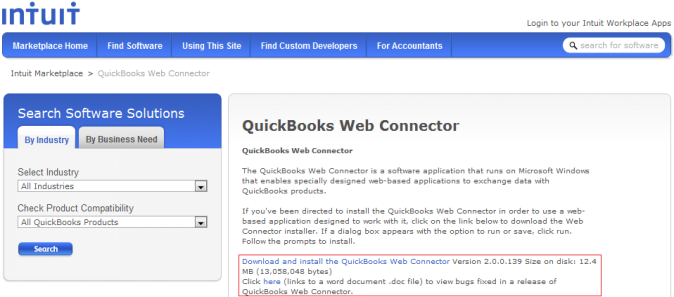
- Once the download is complete, double click on the Downloaded file to start the installation. One window will appear with heading "Preparing to Install".
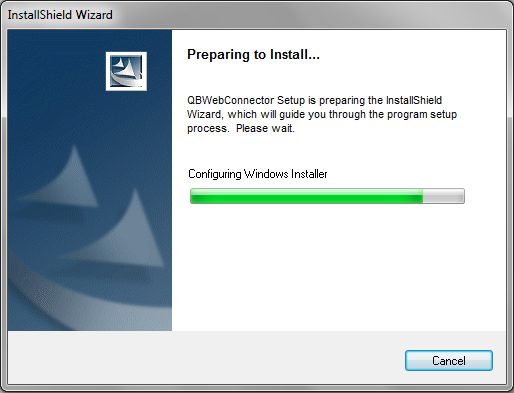
- Click on the Next button for Welcome Screen. The screenshot is shown below:
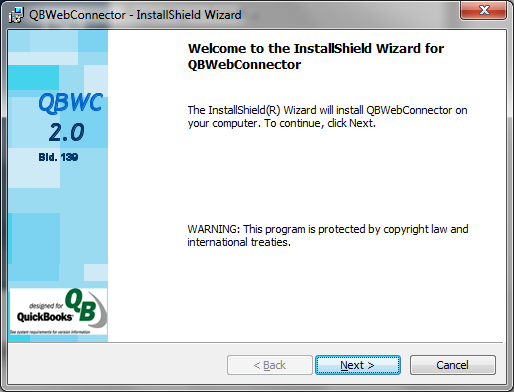
- Select the option button for "I accept the license Agreement" and click on Next. See screenshot below.
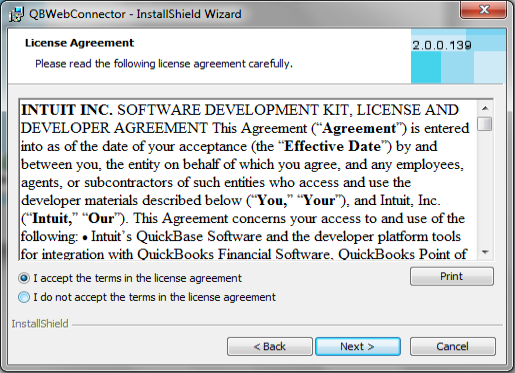
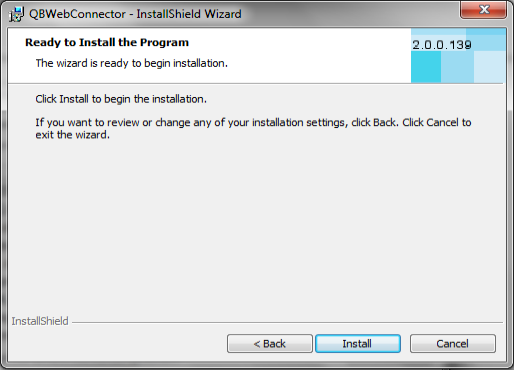
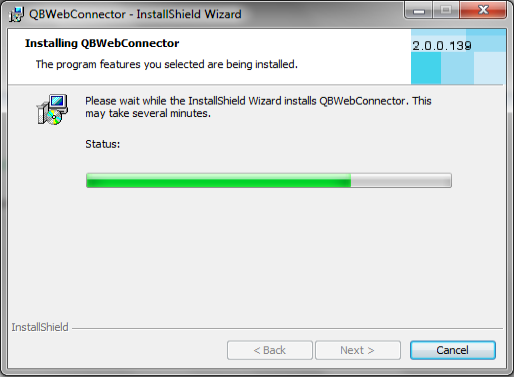
- On the Next screen, click on Install button to start the installation. The installation process will be started and one window will be displayed for progress. Both the windows are shown below respectively.
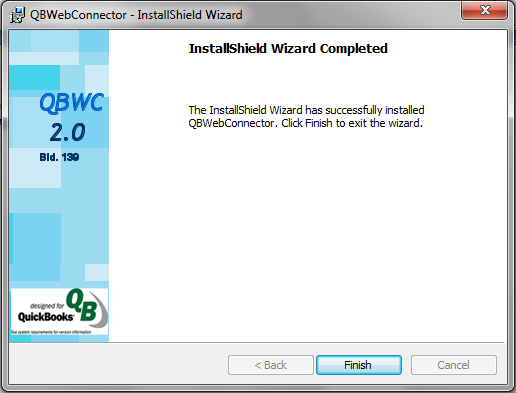
- Once Installation progress is complete, one window will be displayed with message "The Installshield Wizard has successfully installed QBWebConnector". Click on Finish button to complete your installation.
- Go to "Start\programs\QuickBooks\Web Connector" to start the web connector.


