2022
Built on top of Cloud Replication for Salesforce, Copy Data Management (CDM) provides its users an easy capability to Copy Salesforce instance to one or more Salesforce instances. This feature enables Salesforce Admins, Developers and Data Migrators to manage better their Development or Data Migration projects. So now with a few clicks you can Export / Import Account, Contact, Opportunity, Opportunity Line Items, Tasks or any standard and custom objects- with all ownerships and users.
Step by Step Guide to Run CDM
- You start by clicking on the manage profiles in the home page and enter the details of the source profile if you have the already the database ready. You can also create a new source profile if the database is not there or you want a new copy. The details steps are listed in Salesforce to Database section of Cloud Replication.
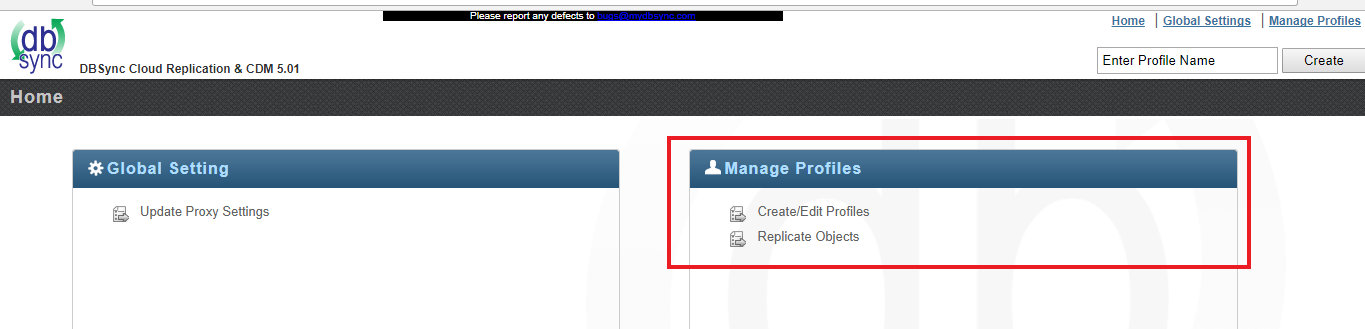
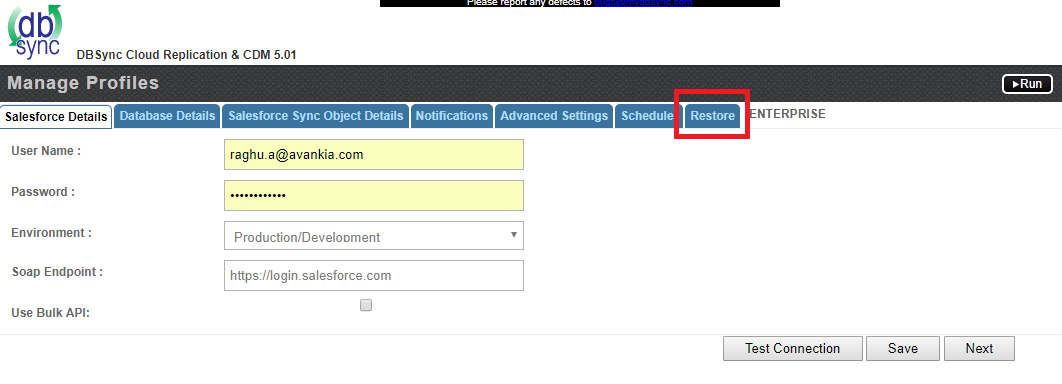
- Next you click on the Restore Tab to start the CDM tool.
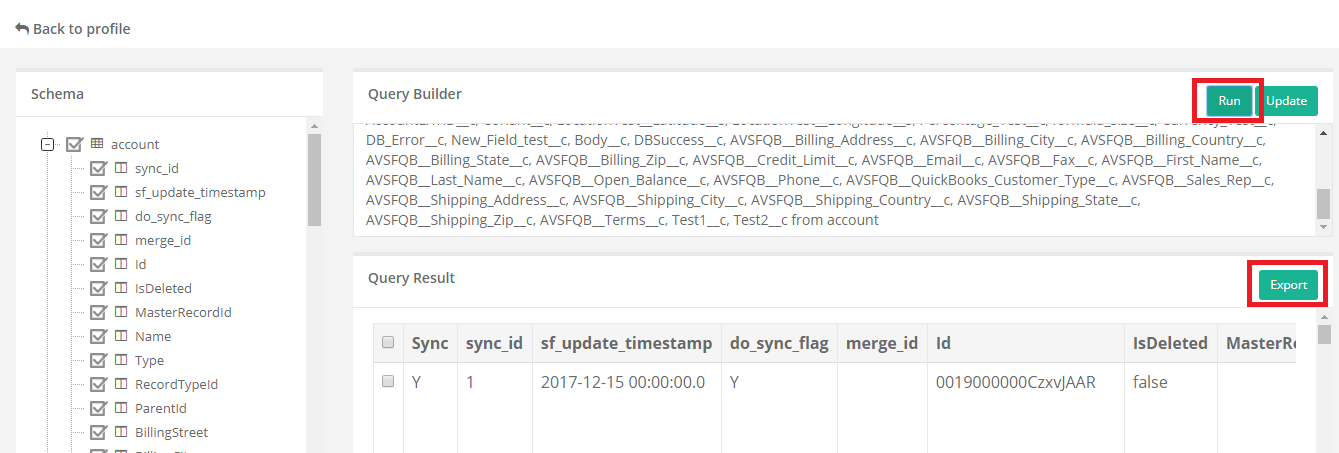
- This open the Query Builder page. The left panel of this page list the schema available in the source profile. You can choose the scheme you want to restore and choose the run button. The query for the selected schema will be presented in the query panel. You can edit this query to filter the results.
- When you click on the run button, the results are listed below the query panel. You can choose the rows or if you don't choose anything all of the rows are selected.
- Click on the export button and this opens the export widget.
- Choose the source metadata in the first tab and click Next
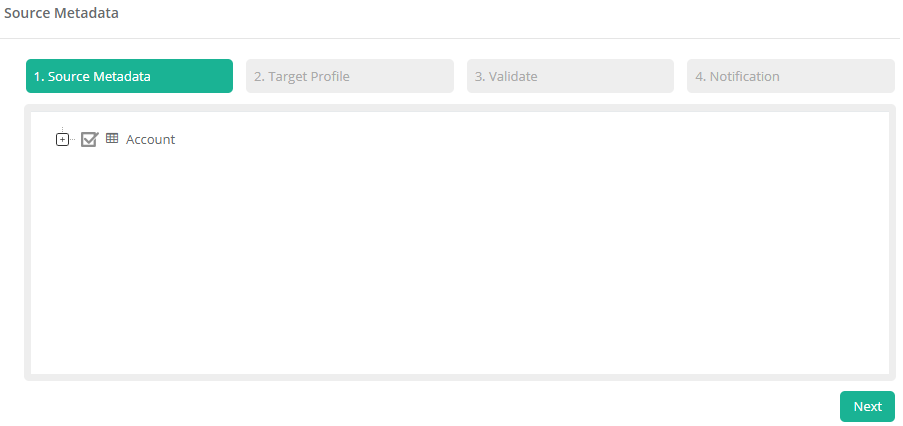
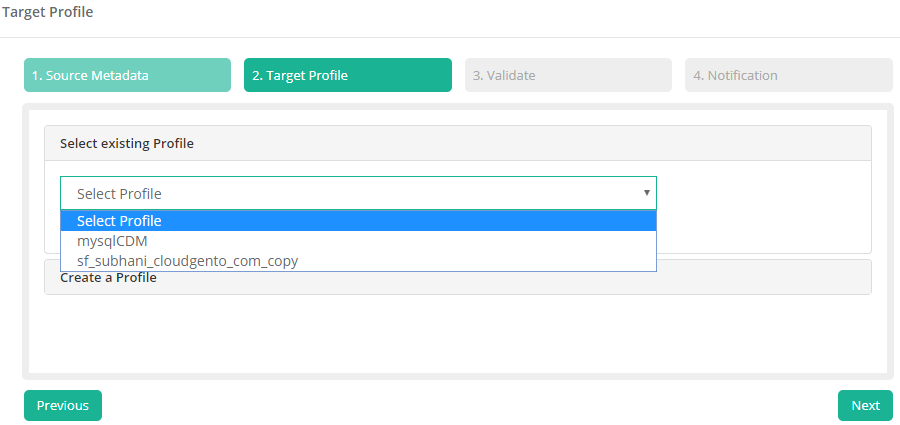
- Next is the target profile. You can create a new profile or select an existing profile. This is the salesforce instance where the selected entities will be exported. Click on Next
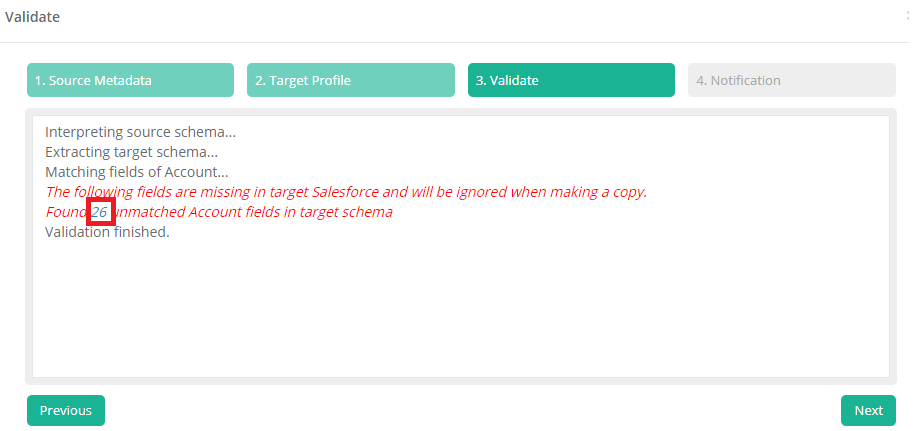
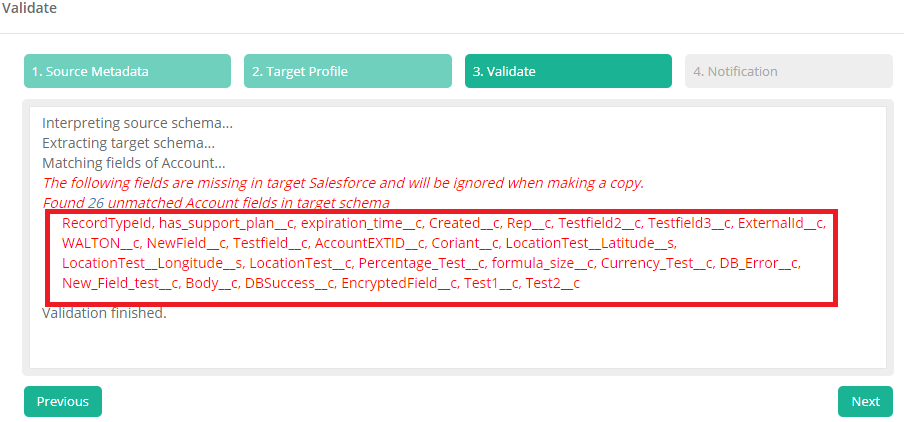
- The next tab is the validation tab. The source and target profiles are compared and any discrepancies are listed in this tab. The number of discrepancies is provided as a hyperlink and clicking on it list the fields that don't match. Once you are comfortable with the comparison results click on Next.
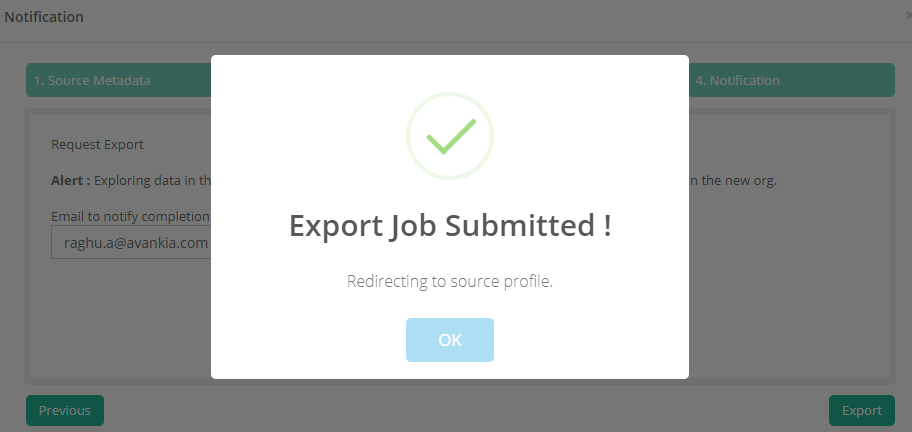
- Next is the Notification tab where you provide the email to to which the result are emailed.
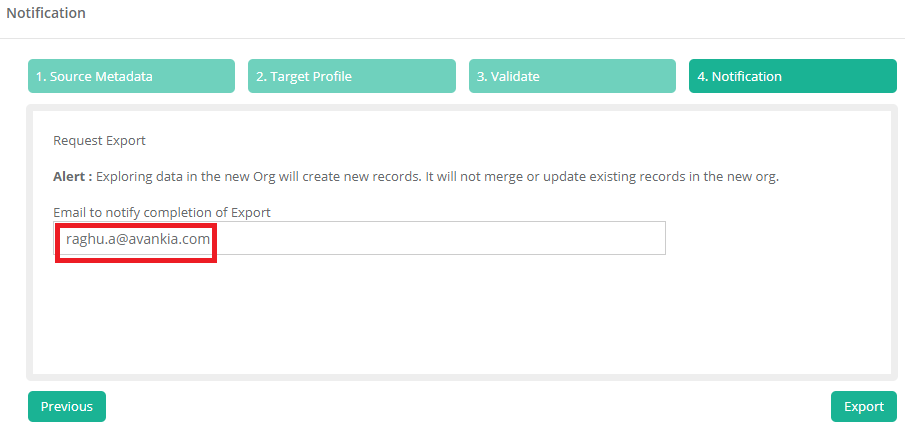
- Finally Click on the Export button. The export process is done and the results are emailed to the email id provided in the Notification tab. The mail has the details on the number of data inserts and errors. Details errors are provided as a csv file attachment.
Overview
Content Tools