2022
Quick Start with Role Management of DBSync Cloud Replication and CDM
The Quickstart walkthrough helps you to understand how the Administrator creates a different type of Roles. The Administrator has to decide and assign a different type of Roles to the Users based on their work and responsibilities.
So, with the help of Role and User Management feature Administrator can give all the access and permissions to all the Users based on their work responsibilities. In the Role Management Section of DBSync Cloud Replication and CDM, we have two by default Roles to the Users like "Read_Only and Developer".
Let's start with the step by step process of "Role and User Management".
Log in to the DBSync replication portal
Sign in to the DBSync Replication portal.
Steps to Create a Role
Follow these steps to go to the Administrator in the DBSync replication portal.
- Once, you have logged in then click to "Administrator Menu" in the left-hand top corner below the home option of the DBSync replication portal.
- Click on the "Administrator Menu" and you will see all the below options:
- Global Settings
- Role Management
- User Management
- API
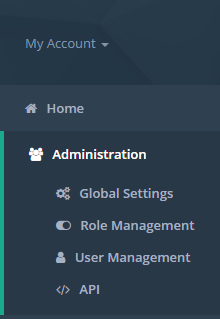
- Click on the "Role Management" link will redirect you inside the Role Management page.

- Once, you are On the "Role Management" page you will see the "Add Role" button on the top right corner.
- On the "Role Mangement" page you will see two by default roles are available for the users and the Administrator can create n-number of Roles for the users out of these 2 default Roles.
- READ_ONLY
- DEVELOPER
- Click on the "Add Role" button will navigate to you on the "New Role Permission" page with all the edit permissions and you can select any name from the user's profile.

- Select any User from the list and click on the save changes button will redirect to the user on the "Roles" page.
- An "Administrator" can do the changes as per the User job roles and responsibilities. The Administrator has all the permissions to mark the checkboxes based on user responsibilities. As you can see the example below:

- Click on the "Save Changes" button will redirect to the "Roles" Page.
- On "Roles" Page click on "READ_ONLY" option and you will see the edit role permissions with all checkboxes.
- With "READ_ONLY" option user will read all the pages but can't do any changes inside the pages like Project (Profile Name), Source Setup(Salesforce/Microfost Setup page), Target/Database setup page, Advanced Setting, Objects page, Scheduler, and logs page.

- Click on the "Save Changes" button will redirect to the "Roles" Page.
- Once you click on the "DEVELOPER" option you will see the edit role permissions with checkboxes.
- With the "DEVELOPER" role option user will do all the changes inside the pages like Project (Profile Name), Source Setup(Salesforce/Microfost Setup page), Target/Database setup page, Advanced Setting, Objects page, Scheduler, and logs page.
- Click on the "Save Changes" button will redirect to the "Roles" Page.

Steps to Create a User
Follow these steps to go to the Administrator in the DBSync replication portal.
- Once, you have logged in then click to "Administrator Menu" in the left-hand top corner below the home option of the DBSync replication portal.
- Click on the "Administrator Menu" and you will see all the below options:
- Global Settings
- Role Management
- User Management
- API
- Click on the "User Management" link will redirect you inside the User Management page.
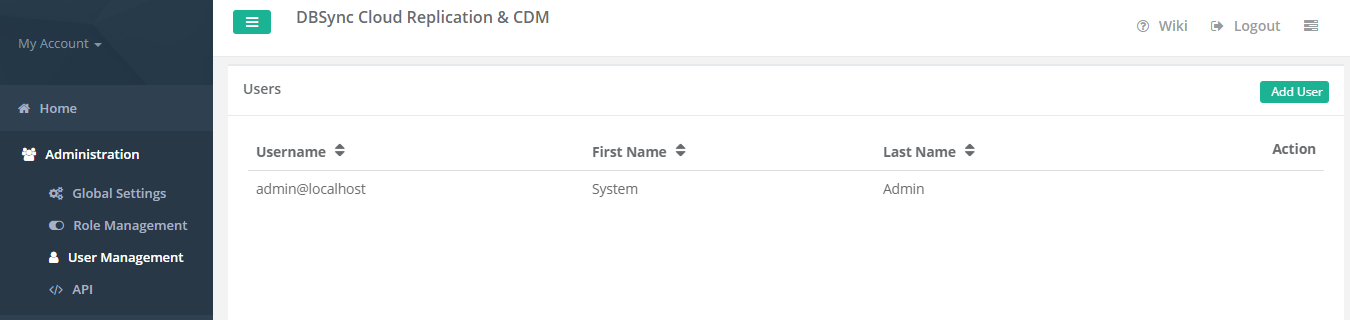
- Once, you are On the "User Management" page you will see the "Add User" button on the top right corner.
- You can see the Admin details like "Username, First Name, Last Name, and Action".
- Click on the "Add User" button will navigate to you on the "New User" page with all the information like "Username, Password, First Name, Last Name and select User Role from Dropdown Menu".

- On the above image, it is visible how many roles are available for the "User" and the "Administrator" can select any "Role for the User".
- Once the selection is done by the "Adminstrator" then click on "Save Changes" button to redirect to the Infomation "New User" is successfully created.

- Click on the "OK" button will redirect to the "New User page" with new User details.

- Once the "New User" is created then the details are available on the "User Management" page. For, more information please check the above screenshot.
Overview
Content Tools