2022
Page History
...
- Go to www.mydbsync.com and click on Customer Login. Enter your USER NAME User name and PASSWORD Password and click on Login.
...
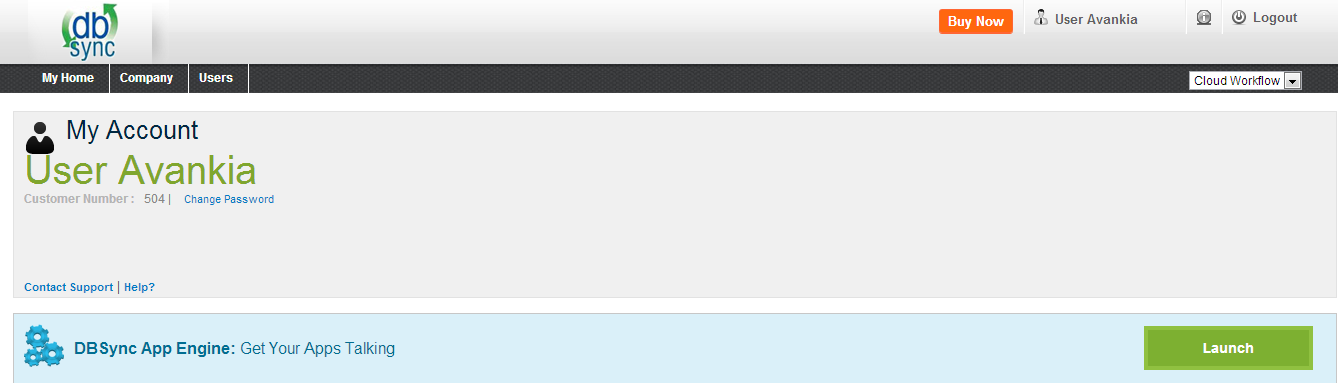
- Sign in. Click on Launch to access DBSync Integration Console.
- In DBSync console click on Edit Link from Manage Toggle Button.
...
- Go to www.mydbsync.com and click on Customer Login. Enter your USER NAME User name and PASSWORD Password and click on LoginSign in.
- Go to Edit Account and change Server Details Login to Click on Company to see all the usernames in under company. Click on edit, under DBSync Org Properties, click on edit and enter URL as "http://localhost:8080/dbsync2/login.m and click on Save. A screenshot is shown below

- ".
- Download DBSync from http://www.mydbsync.com/dbsync2download/currentrelease/DBSync_V2V3.8.2_04082013_QA.exe and Install DBSync application on your Local System. For installation process use following link http://help.mydbsync.com/docs/display/dbsync/Windows+Installation .
...
- Go to www.mydbsync.com and click on Customer Login. Enter your USER NAME and PASSWORD and click on Login.Go to My Home from top menu and Sign in. Click on Launch Button in to access DBSync Integration Console Area. You will be redirected to DBSync Integration Console.

- You will be redirected to DBSync console, select Create Profile button and enter the desired name for your profile in the popup box.
...
- A new profile will be added in your DBSync profile page with Process Template Name.

- Click on Manage --> ? Edit for the Profile in the DBSync console.

- Click on upload and select the zip file you downloaded earlier from the saved location. The file will be uploaded to the profile that was craeted created and the hence the Conversion process.
Overview
Content Tools