2022
Page History
...
- Open www.mydbsync.com from your browser and click on Customer Login.
- Login to your DBSync profile by entering your DBSync Username & Password.
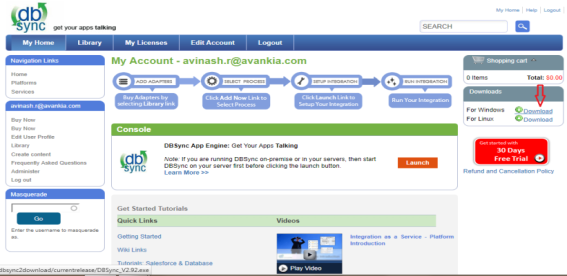
- Once logged in, click on My Home tab on the DBSync menu.
- Download DBSync application by clicking on the Download link as shown.
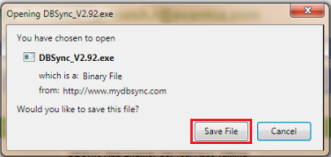
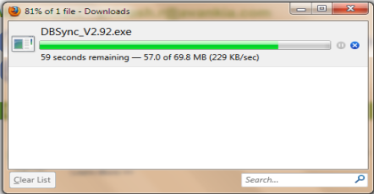
- Click on Save to save it in your system to run the installation at a preferred time.
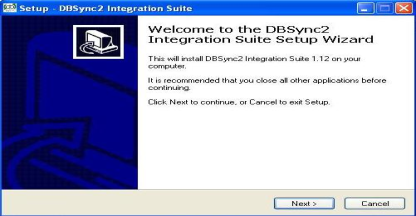
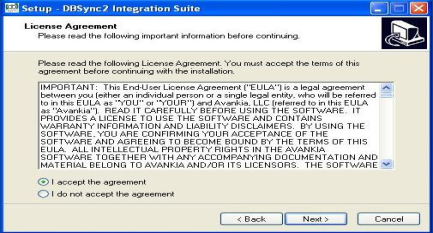
- Double-click DBSync_V2.92.exe to start the installation. The "Welcome to the DBSync2.0 Integration Suite Setup" Wizard displays
- Select "I accept the terms of the license agreement" and click Next.
- Click Next button, to use the default directory for installation.
- If you want to install DBSync in a different location, then click Browse and specify the location.
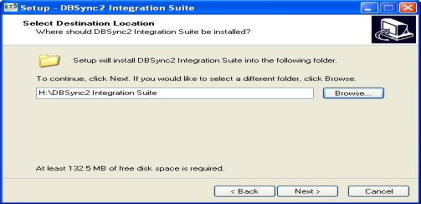
Note: The minimum free disk space required to install the DBSync 2.92 in your system is 132.5 MB
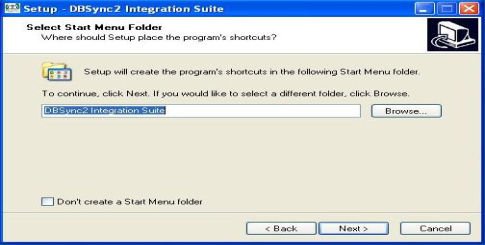
- Click "Next" button*,* to use the default directory for start menu folder.
- If you want to select a different start up DBSync 2.0 folder, then click "Browse" button and specify the folder.
- If you don't want to create a start menu folder, then check the "Don't create a Start Menu folder " checkbox.
- Select the additional tasks and icons that you like setup to perform while installing DBSync 2.0 integration suite
- Select the additional icons checkbox to create the " Desktop " and " Quick Launch " icons
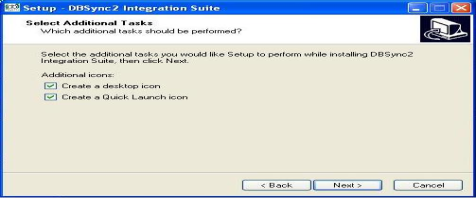
- Click Next. The Ready to Install Wizard displays. You can view the installation destination location, folder and additional tasks you have selected.
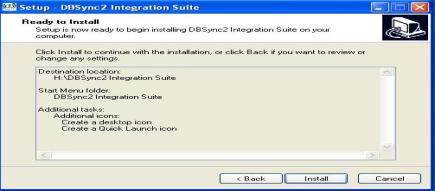
- Click Back to review or to do any changes.
- Click Install to continue with the installation. The Installing Progress wizard displays the progress of installation as the files are being copied.
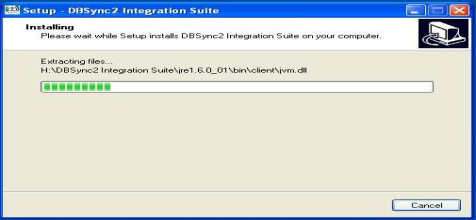
- Click Cancel to stop the installation, else the installation completes without any interruption.
- The DBSync 2.0 Completing Integration Suite Setup Wizard displays the status of the installation.
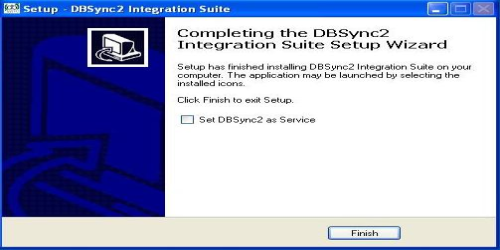
Note: You can also use DBSync as a service by having the check box checked as shown above.
Configuring DBSync with Salesforce and Quickbooks
...
- Open www.mydbsync.com and click on Customer Login tab.
- Login with your DBSync username & password .
- Click on My Home tab from the Menu and click on Launch button to navigate to DBSync Profile page.
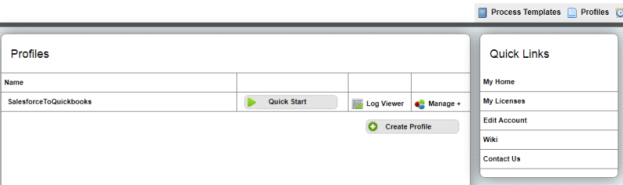
- Click on the Quick Start button on the profile page.
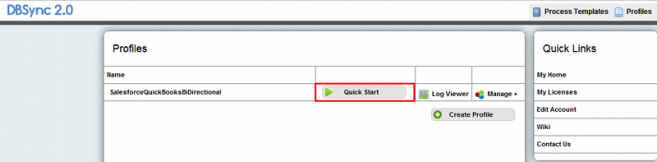
- This would open up a pop-up window with the screen similar to the one shown below. This screen provides you the step-by-step instruction for configuring your DBSync setup for performing the integration.
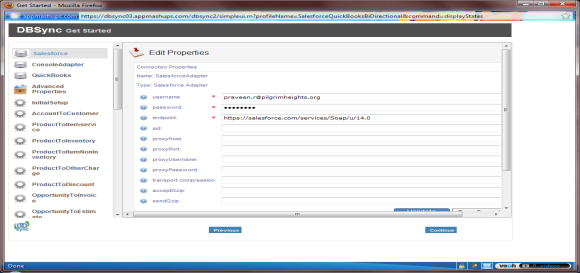
Please fill in the Salesforce Credentials for your Salesforce Instance. Make sure you enter your Salesforce Security Token at the end of the password. If you want to test it out on your Sandbox, provide your Sandbox credentials and modify the endpoint as – "https://test.salesforce.com/services/Soap/u/14.0 "
...
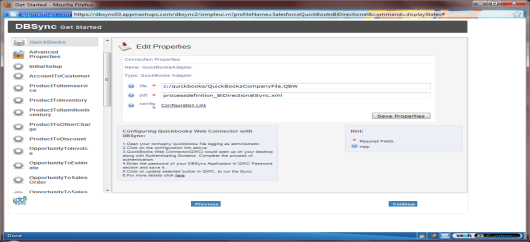
- Click on the Quickbooks adapter in the left column, enter full path of your QuickBooks file in the file section of the 'QuickStart' window.
- You can retrieve full path / location of your Quickbooks file by pressing 'F2' key on your keyboard when in Quickbooks 'Home' page as shown below.
...
- Once done entering the path of the Quickbooks file, click on Save Properties button.
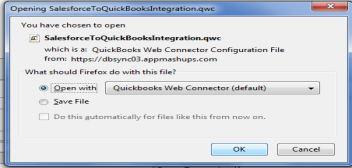
- Once the Quickbooks credentials are saved, click on the configuration link and open the .QWC file with QuickBooks Web Connector.
- Click on OK on the Authorization screen.
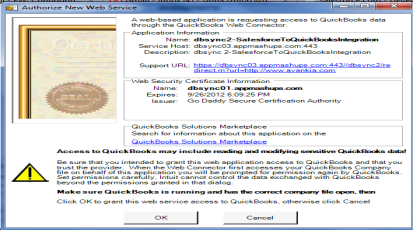
- Select the option "Yes, always; allow access even if QuickBooks is not running". Click on Continue and Done.
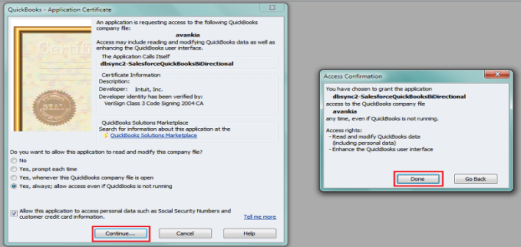
- After clicking on Done, the QuickBooks "Web-connector" is launched with the configured integration profile as shown below.
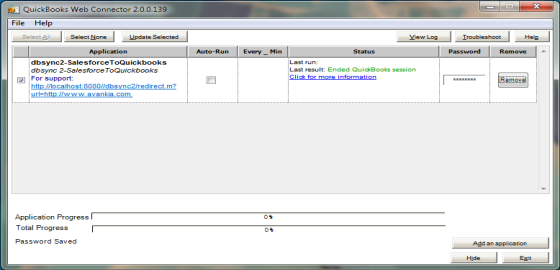
- Once through with the configuration of the web-connector, enter your "DBSync Password" under the password section of the Web-Connector and press "Enter" key on your keyboard. You will be prompted to store the password, click on Yes to store your DBSync password.
...
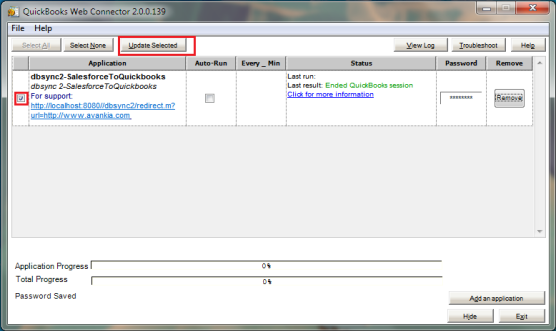
- This completes the configuration process of your Quickbooks with DBSync. You can run the integration by checking the "check box" besides your profile in the web-connector and clicking on the Update Selected button.
Downloading and Uploading DBSync Integration Profile
- Login to www.mydbsync.com
- Enter your DBSync username & password.
- Click on My Home from the Menu tab and click on Launch button to navigate to DBSync Profile page
- Click on the *manage ? edit* as shown in the screenshot below.
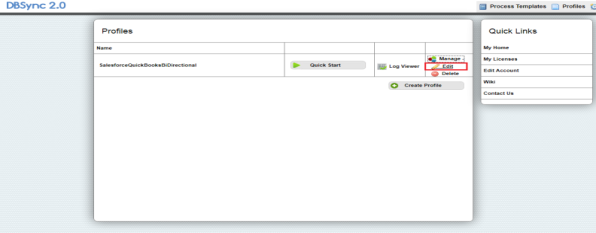
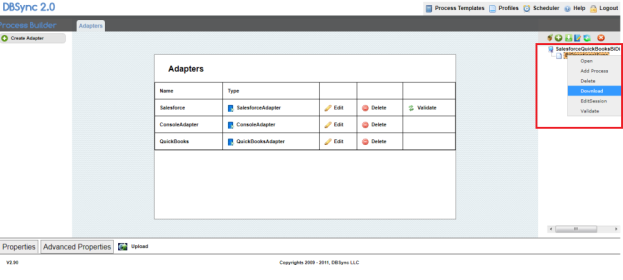
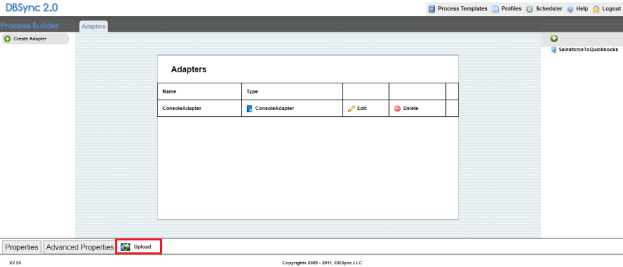
- Once clicked on edit, you will be redirected to the DBSync console page.
- Right click on the PDL (Bi-directionalSync) and click on download from the list menu as shown in the screenshot.
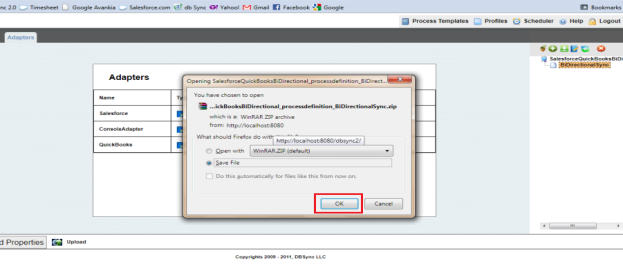
- Click on OK button and save the profile to the desired location on your hard drive.
...
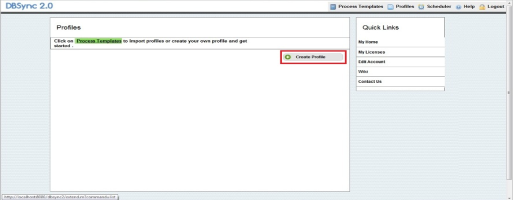
- Once logged into DBSync home page, click on Launch button as illustrated in the above steps.
- You will be redirected to DBSync profile page. Click on the create profile button to create a new DBSync profile as shown below.
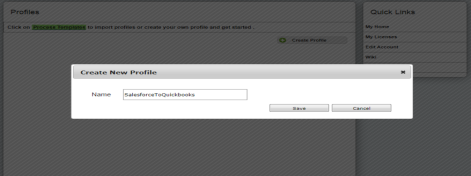
Note:
A profile Name cannot have white spaces. You can use a naming convention like the one shown in the below example.
- Click on the Save button to create a profile with the desired name.
- A new profile is added to your DBSync console as shown below.
- Once the profile is created, click on *manage? edit* as shown in the above examples.
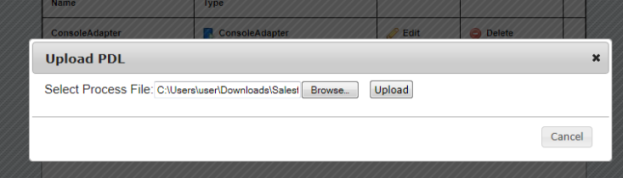
- You will be redirected to the console page, click on the upload link as shown.
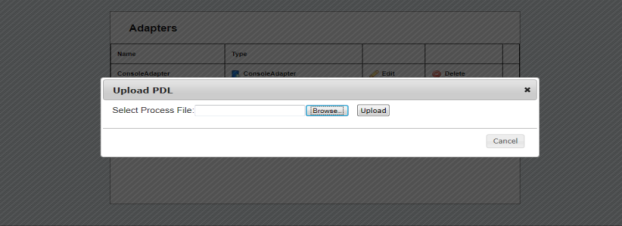
- A pop-up browser window will open. Select the location of your downloaded DBSync profile and upload the same as illustrated below.
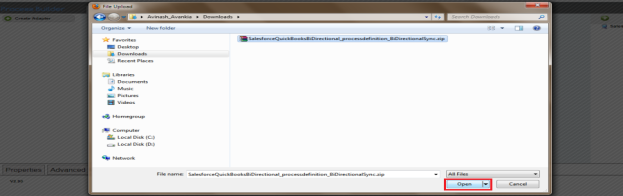
- Navigate to the folder / path where your profile was downloaded previously, select the file and click on Open button as shown below.
- Once you select the PDL file to upload, click on upload button as shown to complete the upload process.
- Once the upload is complete, a new window / tab are opened in your browser indicating that profile has been uploaded successfully.
- Once the profile is uploaded successfully, validate your Salesforce and Quickbooks credentials as illustrated in the above steps.
Overview
Content Tools