2022
Page History
...
- This would open up a pop-up window with the screen similar to the one shown below. This screen provides you the step-by-step process of configuring your DBSync setup for performing the sync.
!Quickstart1.png,align=center!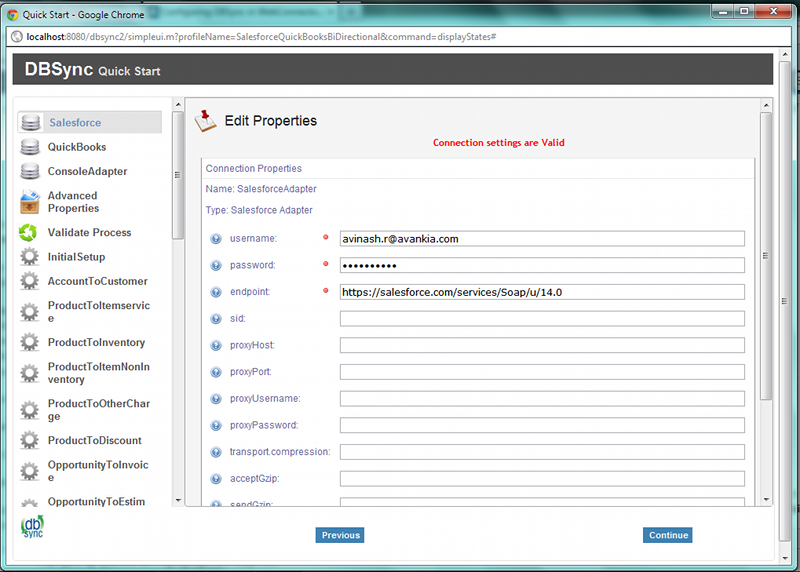
- Please enter your Salesforce Username and Password, make sure you enter your Salesforce Security Token at the end of the password. If you are using Sandbox, provide your Sandbox Username & Password and modify the endpoint as https://test.salesforce.com/services/Soap/u/14.0 and click on Validate Button.
...
- Under your QuickBookAdapter screen, enter Full path to your QuickBooks file on your desktop. And click on Save Properties. Once save message is displayed click on "Configuration Link".
!Quickstart2.png,align=center|border=1!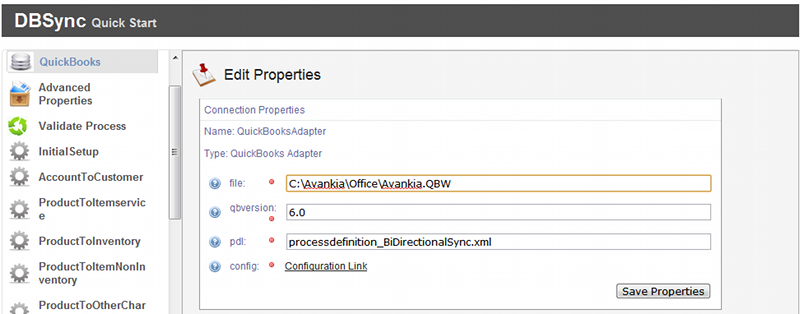
- You can retrieve full path / location of your Quickbooks file by pressing 'F2' key on your keyboard when in Quickbooks 'Home' page as shown below.

- Once you click on Configuration Link, a pop-up box will appear. Select QuickBooks web connector from the drop down and click on OK button.The pop-up box varies with browser as shown in the screenshot below
FIREFOX
!popup.png,align=center!
- Click "OK" on the Authorization screen.
!Quickstart3.png,align=center!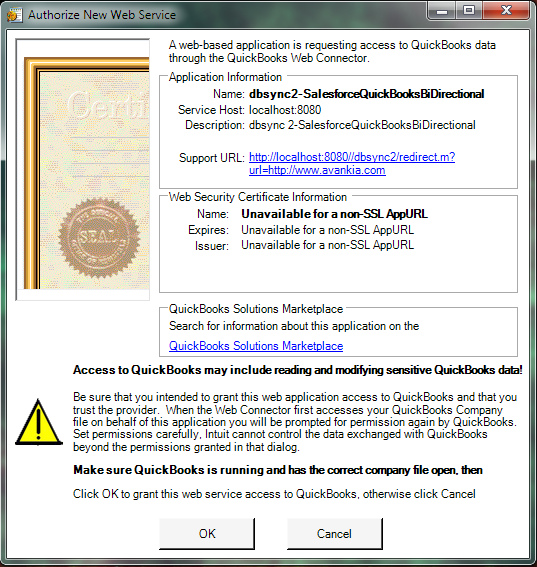
- Select the option "Yes, Always; allow access even if QuickBooks is not running" and click on Continue.
!Quickstart4.png,align=center|border=1!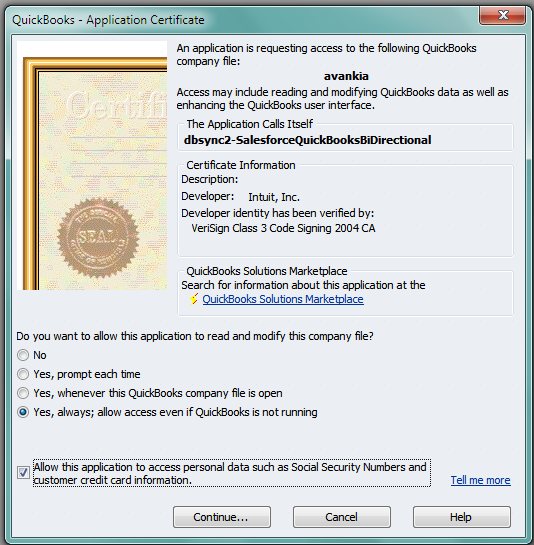
- Click on "Done".
!Quickstart5.png,align=center|border=1!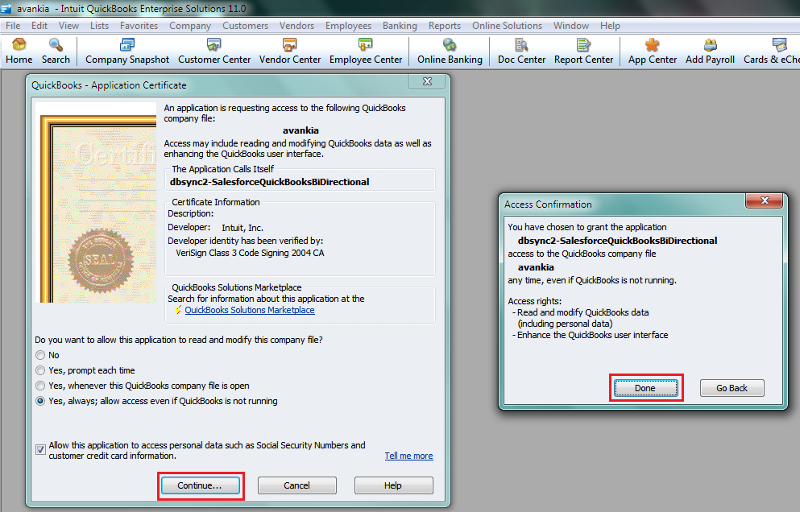
- Once you click on Done, the DBSync integration profile will be added to your Quickbooks Web-Connector as shown below. Once the profile is added to the web-connector, add the DBSync account password in the highlighted section of the Web-Connector.
!web-con.png,align=center|border=1!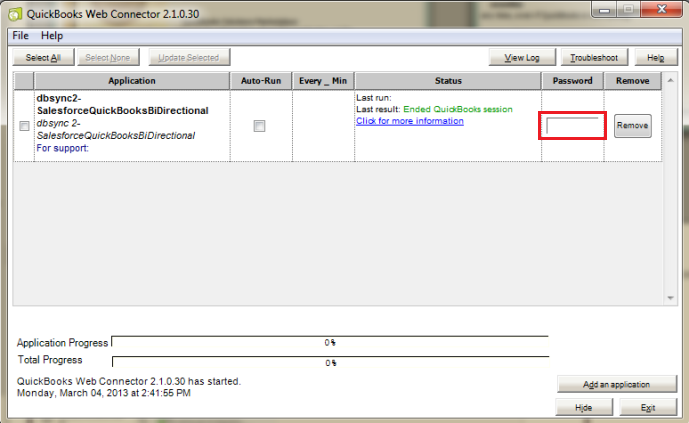
- This completes the process of configuring DBSync for integration with your Quickbooks company file.
Overview
Content Tools