2022
Upgrading to DBSync 2.9
Download the application
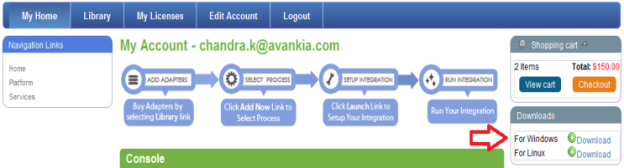
- Go to www.mydbsync.com, Click on Customer Login. Enter your User ID and Password and click on Login button.
- Download The DBSync application from Download link on the right hand side of the My Home page.
Backup Your Current Profiles
- Open My Computer and go to <<DBSync Install Dir>> \dbsync2\WEB-INF\conf\db and copy all the Files and folders to your Backup drive.
Uninstalling Previous Version of DBSync
- Go to Start\All Programs\DBSync Integration Suite\Uninstall
- If User Access Control window appears click on Yes.
- Select Yes on DBSyncIS Uninstall window. Once Uninstall is done click on OK.
Upgrading the Application
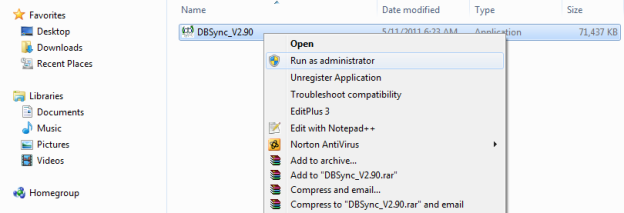
- Go to the Download folder and start the installation by Right Click ? Run as Administrator on the "DBSync_V2.90.exe" file.
- Click on the Run button once the Open File Dialog appears. The dialog is shown below:
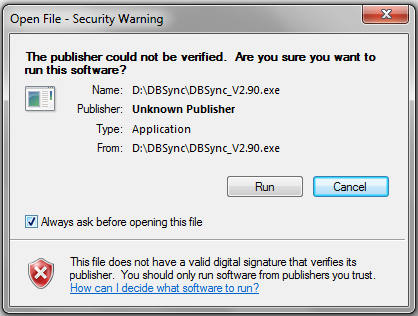
- If the User Access Control window is displayed click on Yes button to authorize the installation.
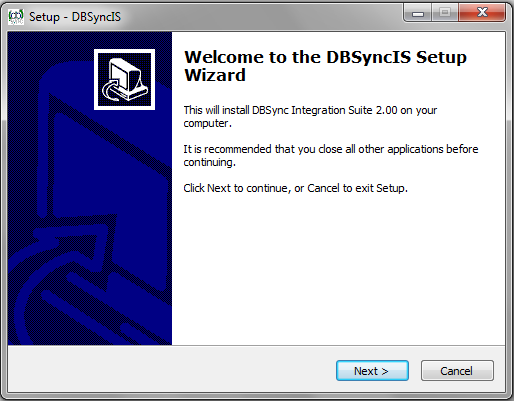
- Click Next on the "Welcome to the DBSync Setup Wizard".
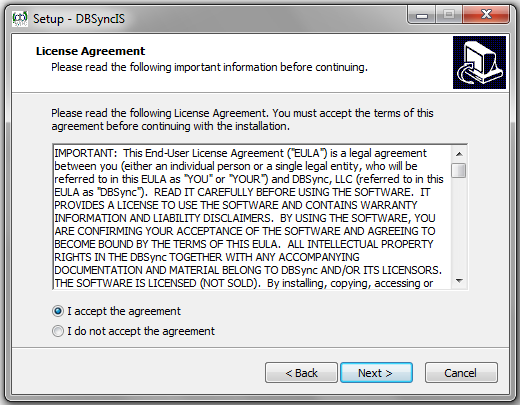
- Accept the License Agreement By selecting the option button "I accept the agreement" and click on Next.
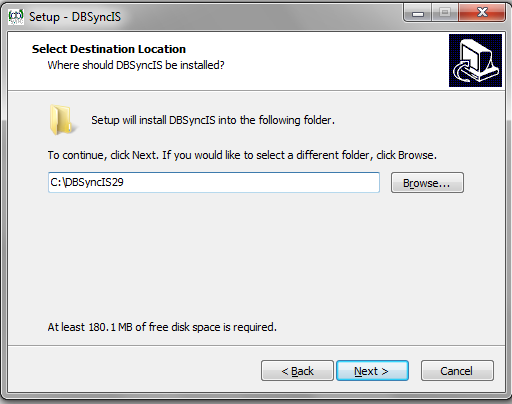
- On Select Destination Location default is C:{{color:#333333}}DBSyncIS29, If you want you can select any other folder by clicking browse and click on Next.
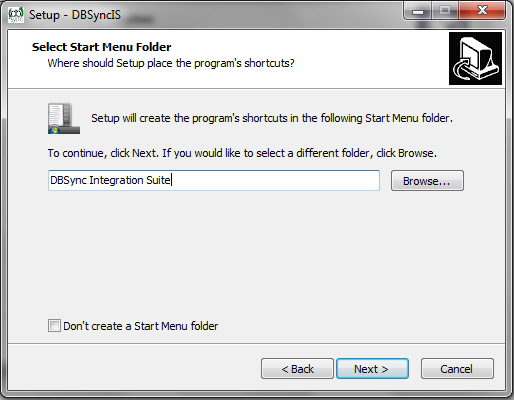
- On the Start Menu Folder Screen Click on Next Button.
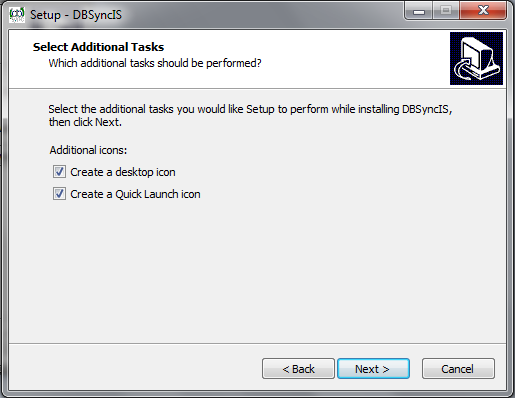
- On the Next Screen select the check-boxes for Create Desktop Icon and Create a Quick Launch icon and click on Next button.
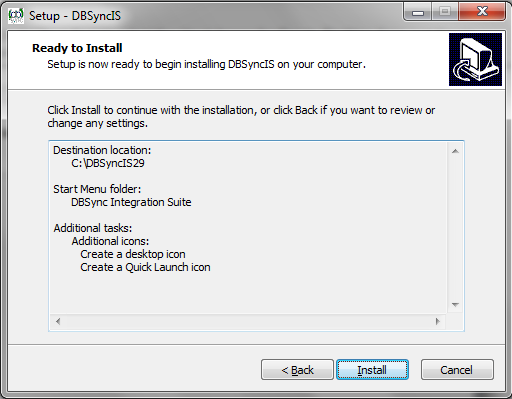
- Click on Install button to go ahead with installation. After clicking next you will be presented with installation progress window. Both the windows are shown below respectively:

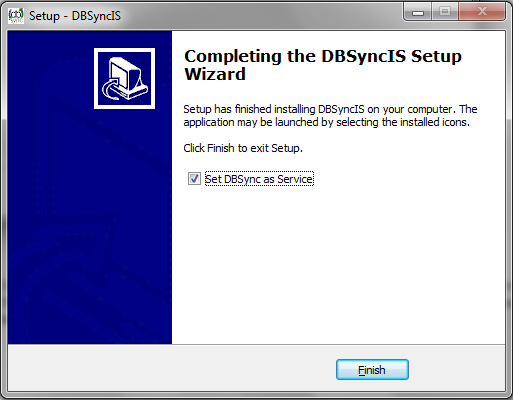
- Once the installation process is done you will be presented with a window with an option to set DBSync as service. If you wish to set it as a service, check the Check box "Set DBSync as Service" and click on Finish button.
- Once done with Installation, copy all the backup files and folders to "C:\DBSyncIS29\dbsync2\WEB-INF\conf\db" folder. At this point, you have successfully completed your DBSync Upgrade on your Desktop.
- If you have selected the option 'Set DBSync as Service', then DBSync would be running as a Windows Service in the background. If you have not opted to select this, then you can start DBSync from your desktop by starting Start\All Programs\DBSync Integration Suite\DBSync.
DBSync Configuration
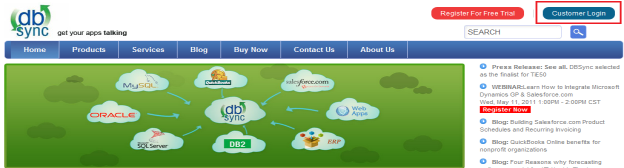
- Go to www.dbsync.com. Click on Customer Login from top right corner of the page. Highlighted screenshot is shown below.
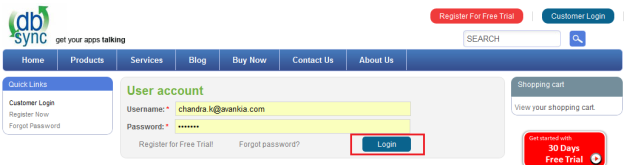
- Enter Your User Name and Password and click on Login.
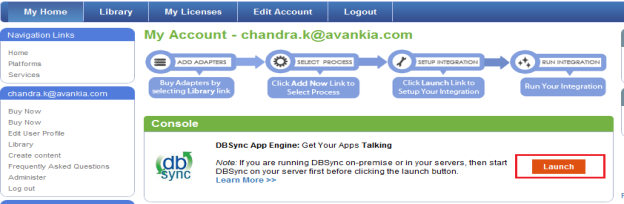
- After Log In go to My Home and click on Launch button in console area of the page to launch DBSync Console. The highlighted screenshot is shown below.
Setting DBSync as Windows Service after Installation
- Go to Windows Start ? All Programs ? DBSync Integration Suite
- Right Click ? Run as Administrator on Set as Service
Alternatively you can follow the following article to configure installed Tomcat as a Windows service
- http://tomcat.apache.org/tomcat-5.5-doc/windows-service-howto.htmlhttp://tomcat.apache.org/tomcat-5.5-doc/windows-service-howto.html
Tomcat and IIS: Install & Setup
- http://tomcat.apache.org/connectors-doc/webserver_howto/printer/iis.htmlhttp://tomcat.apache.org/connectors-doc/webserver_howto/printer/iis.html
- http://onjava.com/pub/a/onjava/2002/12/18/tomcat.htmlhttp://onjava.com/pub/a/onjava/2002/12/18/tomcat.html
- http://www.prasannatech.net/2008/07/integrating-iis-with-tomcat.htmlhttp://www.prasannatech.net/2008/07/integrating-iis-with-tomcat.html
Load Balancing and best Practices
Overview
Content Tools