2022
Introduction
DBSync's App for Salesforce & FTP allows the files to be moved from Salesforce standard objects to configured FTP, SFTP locations. A User has the flexibility to configure their FTP connection within the Salesforce connector tab. This will communicate with the App in moving the files to designated folder path. This article explains the steps in configuring connector after the SF & FTP package is installed on your Salesforce instance from the AppExchange.
Adding Connector Tab Within Salesforce
After you login to your Salesforce instance, click on All Tabs icon located on the Menu Bar. This will open the following screen. Follow the listed steps to add the Connectors Tab on the Menu bar in Salesforce.
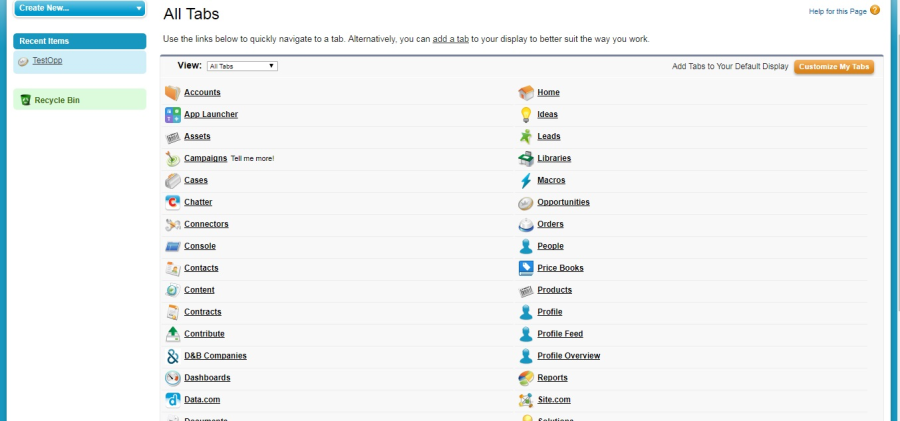
- Click on 'Customize My Tabs' button located on the top right corner of the All Tabs page.
- Choose the Tab that you want to add to the Menu Bar.
- From the Available Tabs combo box, select the Connector Tab and Click Add.
- This action will move the Connectors to Selected Tabs combo box.
- Click on the Save button. A Connector Tab will be placed on the Menu Bar of your Salesforce instance.
Configuring FTP\FTPS Connections
In this section, you will learn how to configure your FTP\ FTPS connection parameters. Once you do that, all the attached files in a Salesforce object will be stored using the designated file path.
From the Salesforce Menu, clicking on the Connectors Tab will open up the FTP\FTPS Connector settings page - as shown in the image below:
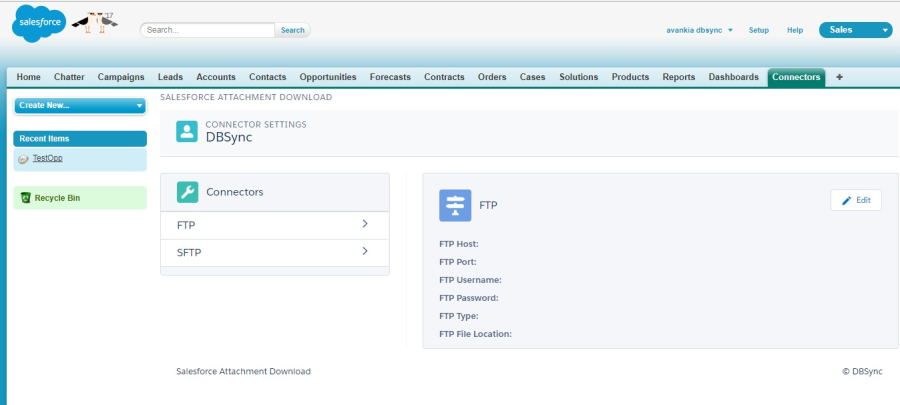
To add the FTP \ FTPS connection parameters, follow the steps:
- Click on > next to FTP label from Connector Combo box. This will show connection parameters.
- Click on the Edit button from the FTP Connection combo box - this will make the fields editable.
- Now populate Fields: FTP Host, FTP Port, FTP Username, FTP Password which are indicated by a red * (Mandatory fields to save the connection parameters) and hit Save to save the connection parameters.
- If you would like to change the FTP to FTPS, you can do so by choosing the FTPS value from the field "FTP Type" and Save the connection parameters.
Configuring SFTP Connections
In this section, you will learn how to configure your SFTP connection parameters. Once you do that, all the attached files in a Salesforce object will be stored using the designated file path.
From the Salesforce Menu, click on the Connectors Tab. This will open the SFTP connector settings page as shown in image below:
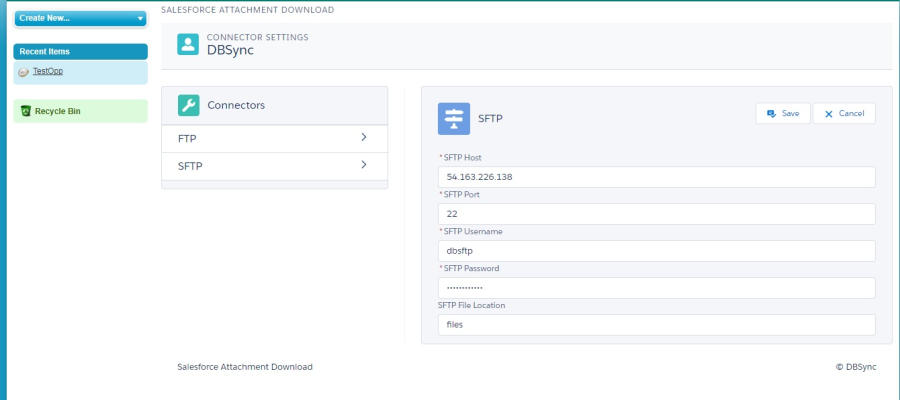
To add the SFTP connection parameter, follow the steps below.
- Click on ">" next to SFTP label from Connector Combo box. This will show it's connection parameters.
- Click on the Edit button from the SFTP Connection combo box; as shown in the image i.e. on the right hand section. Once clicked this will make the fields editable.
- Now populate Fields: SFTP Host, SFTP Port, SFTP Username , SFTP Password that are indicated by a red * (Mandatory fields to save the connection parameters) and hit Save to save the connection parameters.
- You can also define the file location to Save the file to path of your choice. If you do that, whenever an attachment is added to the Standard object of Salesforce it will get saved to designated file path.
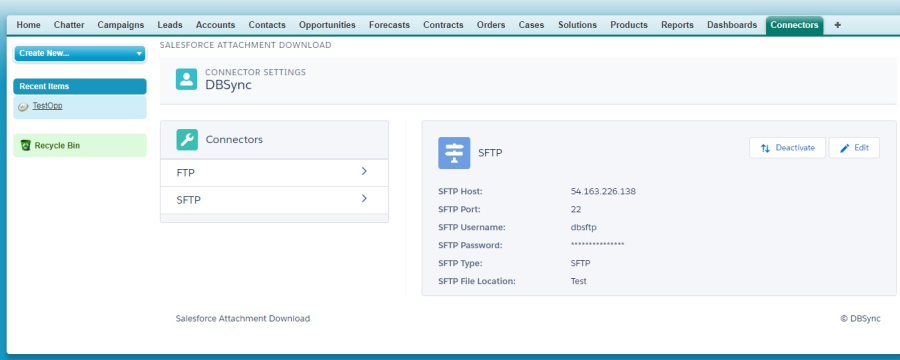
4.2 Deactivate FTP\FTPS\SFTPS Connection
In case if the need arises to save the files to either your FTP \ FTPS\ SFTP server then, simply click on the Deactivate button of the respective connectors. This will stop processing the files to designated folders.
As explained in the article, you can configure your FTP \ FTPS\ SFTP server so that, as and when a new attachment is saved, it gets automatically downloaded to the designated folder path.
Overview
Content Tools