2022
DBSync Setup
- Login into dbsync by following the http://www.mydbsync.com/user/login.
- Enter Your Username and Password for Dbsync and press Login button.
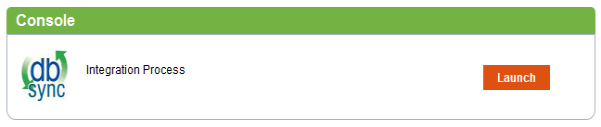
- Click on the Launch Button as shown below from My Home to launch DbSync Integration Console.
- Select the 'Quick Start' link for your Integration profile.
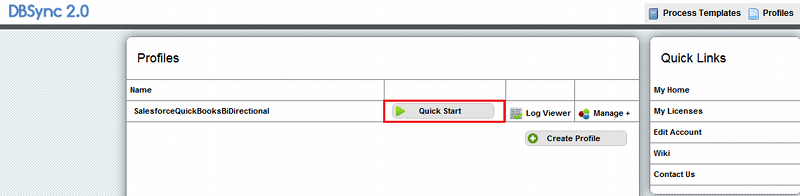
- This would open up a pop-up window with the screen similar to the one shown below. This screen provides you the step-by-step process of configuring your DBSync setup for performing the sync.
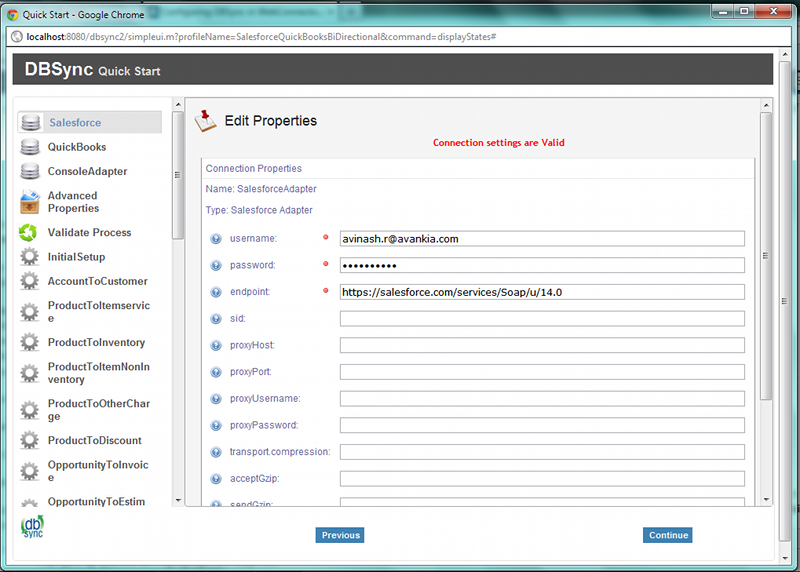
- Please enter your Salesforce Username and Password, make sure you enter your Salesforce Security Token at the end of the password. If you are using Sandbox, provide your Sandbox Username & Password and modify the endpoint as https://test.salesforce.com/services/Soap/u/14.0 and click on Validate Button.
Note: You cannot move into the next step unless above step is completed. You need to pass the connection validation for the details provided for the adapter. You can click on 'Validate' button on the inner screen to validate the connectivity with your instance.
- Under your QuickBookAdapter screen, enter Full path to your QuickBooks file on your desktop. And click on Save Properties. Once save message is displayed click on "Configuration Link".
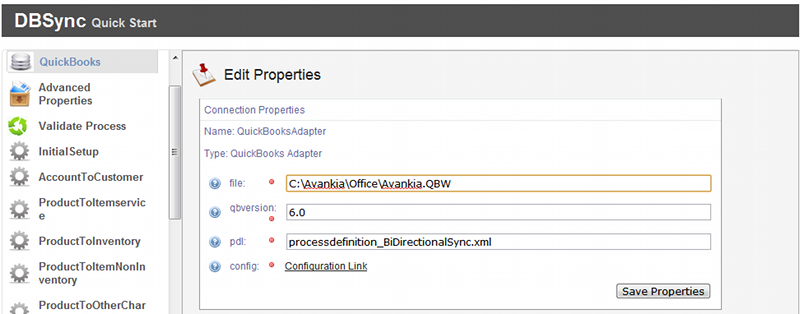
- You can retrieve full path / location of your Quickbooks file by pressing 'F2' key on your keyboard when in Quickbooks 'Home' page as shown below.

- Once you click on Configuration Link, a pop-up box will appear. Select QuickBooks web connector from the drop down and click on OK button.The pop-up box varies with browser as shown in the screenshot below
FIREFOX

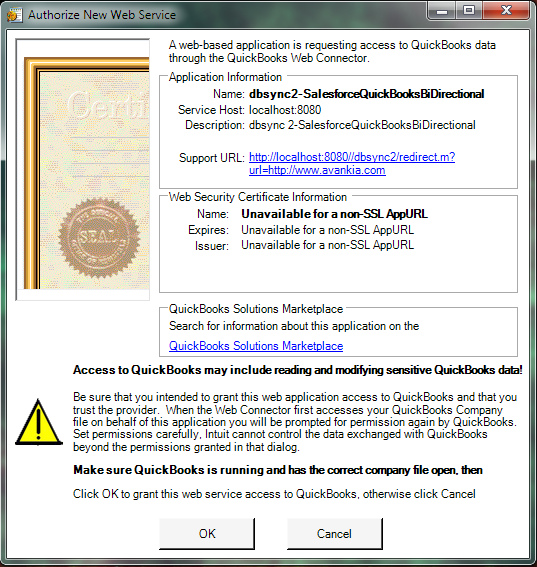
- Click "OK" on the Authorization screen.
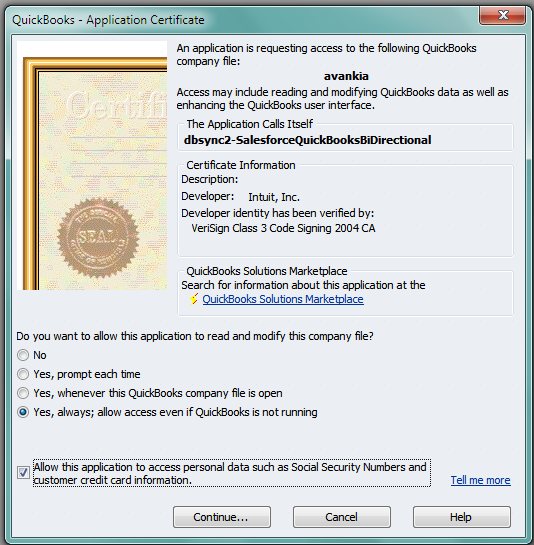
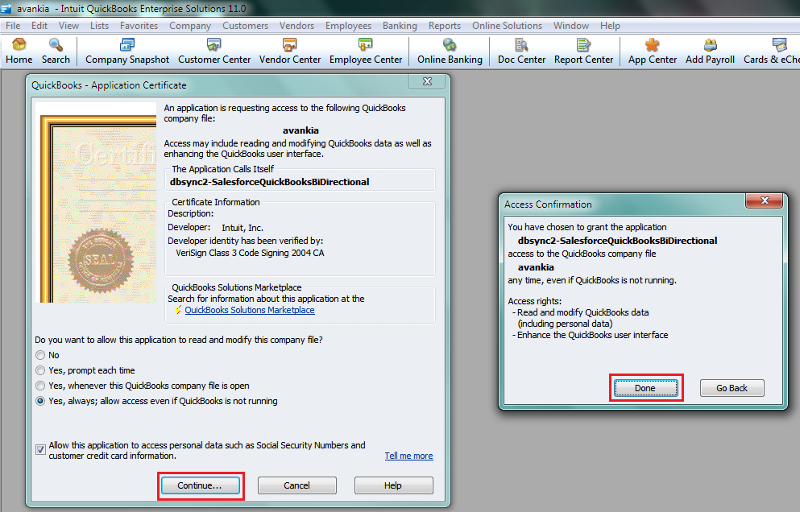
- Select the option "Yes, Always; allow access even if QuickBooks is not running'and click on continue".
- Click on "Done".
- Next sections of the navigation provide you the details of the sync process in a sequential manner.
- Incase if you need to change any mappings that are available in your profile, then you can navigate to that respective process and click on 'Edit Map' link.
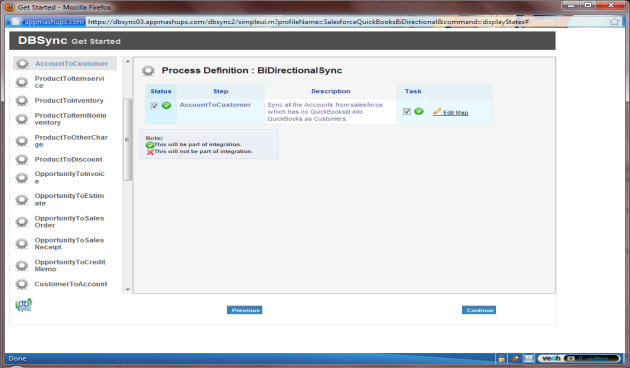
- On click of 'Edit Map', you would get a pop-up window similar to the one shown below. You can modify the mappings are per to your requirements and save it.
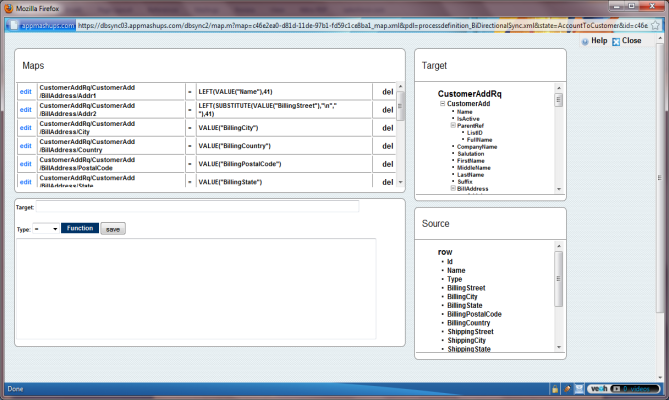
Any changes performed on the mappings would be reflected in the sync process on the next synchronization.
Overview
Content Tools