2022
For Integration from Salesforce into Quickbooks
- If Quickbooks Customer and Salesforce Account object has hierarchy structures enabled, then the following changes have to be implemented within your DBSync mappings / template to facilitate hierarchy mappings. A typical hierarchy structure in Salesforce Accounts and Quickbooks Customer entities is as shown below.
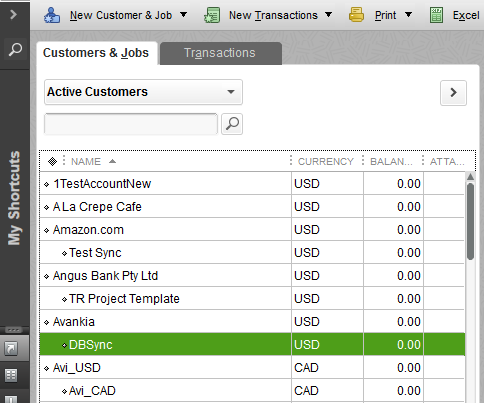
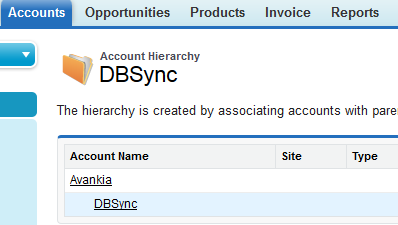
- The default mappings within DBSync standard template integrates the above Salesforce Account records as two separate Customer records "Avankia" and DBSync" and not as Parent & Child records.
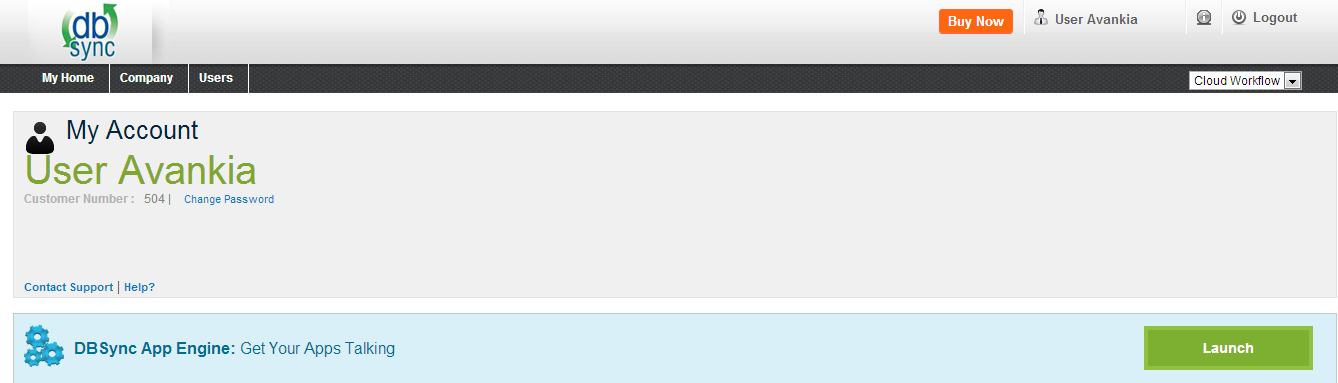
- Login to your DBSync account with the your credentials to make changes or create hierarchy mappings. Once you have logged into your DBSync account, click on Launch to Launch DBSync integration console.
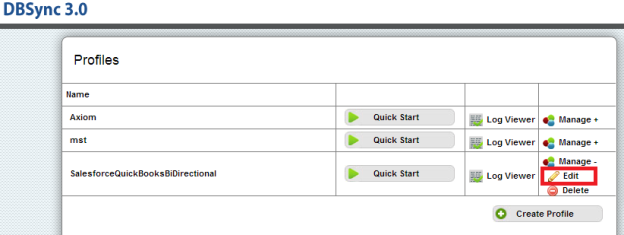
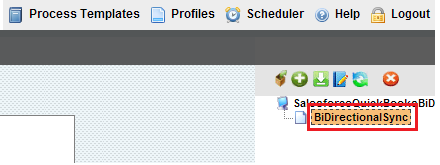
- Click on Manage ? Edit to navigate to the Process Builder page.
- Double click on BiDirectionalSync process on the extreme right hand corner of the Process Builder Page.
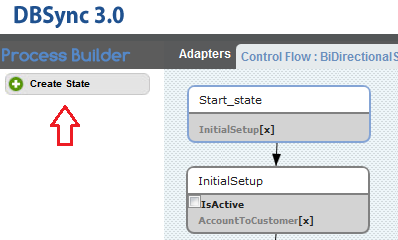
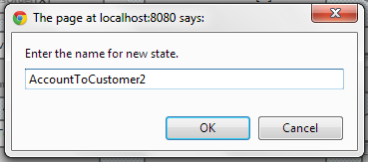
- Once inside the process builder page, create new State / Wokflow named as Account to Customer2 as illustrated in the below two screenshots.
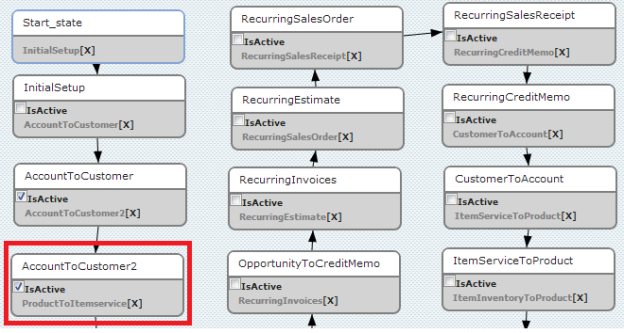
- After Creating the state AccountToCustomer2, link it with AccountToCustomer state as shown in screen shot below.
- Open the AccountToCustomer2 State/Workflow and add Reader, Writer, Map & Status Writer properties from AccountToCustomer state.
- Once all the properties are filled, copy all the mappings from AccountToCustomer mapping window.
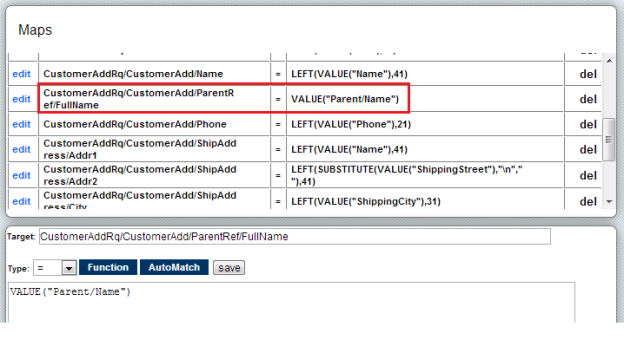
- Once the mappings are completed, add following changes in the Mapping window as shown in the below screen shots.
Target == "CustomerAddRq/CustomerAdd/ParentRef/FullName"
Source Field == "VALUE("Parent/Name")"
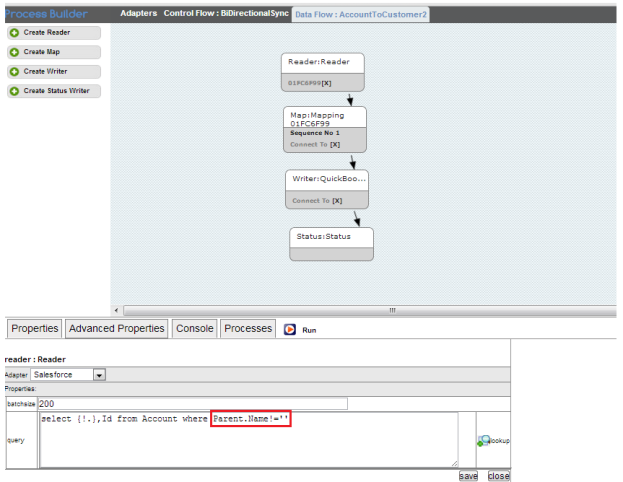
- Now make the following changes in AccountToCustomer2 reader Query.
- Make change in Reader Query with the below code.
select {!.} from Account where AVSFQB__Quickbooks_Id__c = '' and Parent.Name!=''
- Similary change AccountToCustomer reader query with the below code.
select {!.} from Account where AVSFQB__Quickbooks_Id__c = '' and Parent.Name =''
- Once you are done with all the above mentioned changes, run the sync and data will be integrated into Quickbooks with their respective hierarchies in place as shown below.

- This concludes Account hierarchy mappings for the data-flow from Salesforce into Quickbooks.
Overview
Content Tools