2022
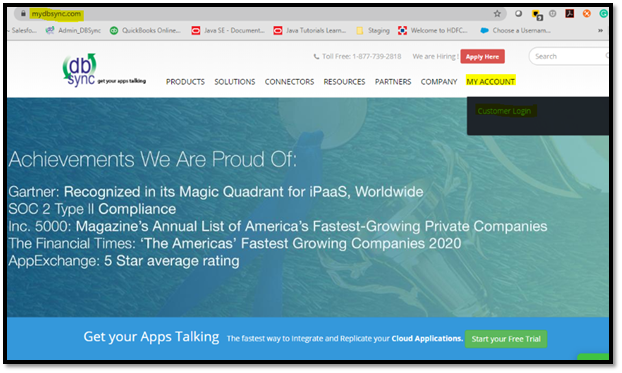
Step 1: Login to www.mydbsync.com. Click on My Account, Customer Login.
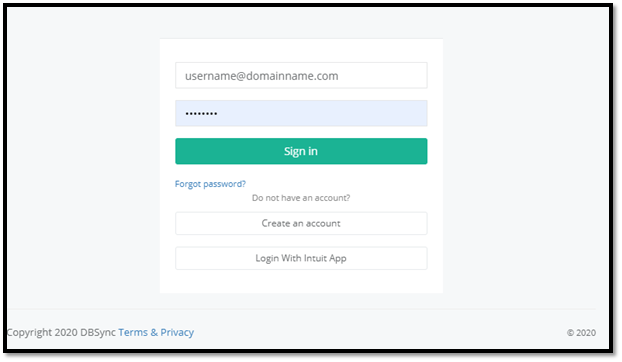
Step 2: Enter your DBSync Username and Password. Click on Sign In.
Step 3: Once you log-in, you will see the DBSync Home page. Click on the Development Studio button.

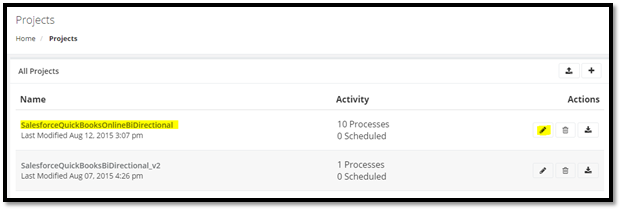
Step 4: Click on the Project Name or Edit button.
Step 5: Click on the Connectors section on the left tab.
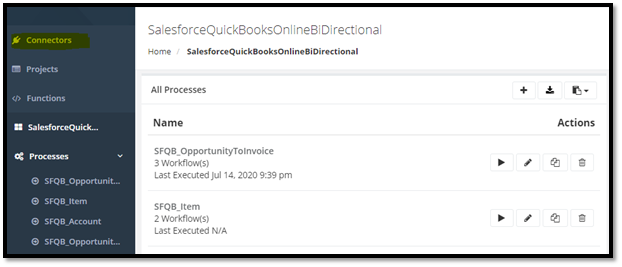
Step 6: Click on QuickBooksOnline or Edit button.
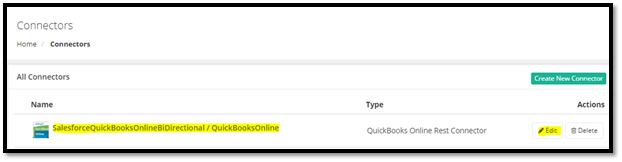
Step 7: Keep logged in to your QuickBooks Online instance in the same window.
Note: Connect to the same instance of QuickBooks online which was connected previously.
Step 8: After clicking on QuickBooks Online or Edit button, click on “Would you like to re-connect?”

Step 9: Select the environment as required (normally it would be Production/Developer Instance). Then, click on “Connect to QuickBooks” button.

Step 10: Click on the “Connect” button at the bottom right corner of the pop-up. You will get connected to the QuickBooks Online instance that is opened in the same window.

Step 11: Click on Advanced properties. Then, save and validate the connection by clicking on the “Validate Connection” button.

Overview
Content Tools