2022
- Go to https://login.salesforce.com/. Enter your Administrator User Name and Password and click on Login button.
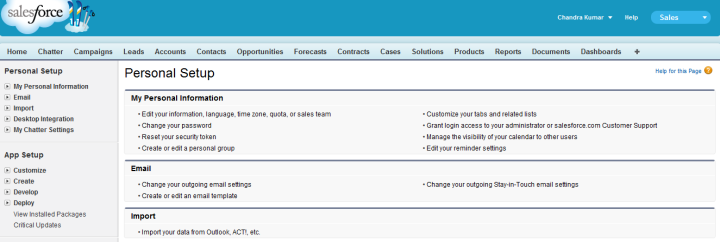
- Select Setup from User Menu for the User on the top right hand side. A Screenshot of the menu is shown below.

- You will be presented with a page for setup as shown below.
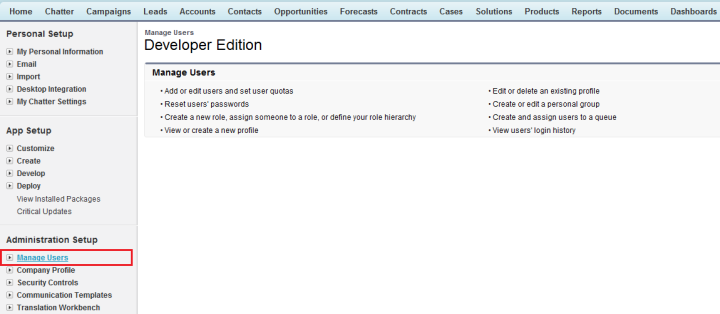
- Scroll Down on the page and click on Manage Users on the left menu Under Administration Setup as highlighted in the Screenshot shown below.
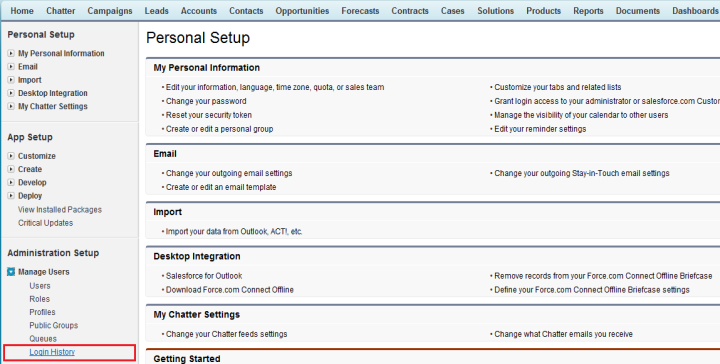
- Click on Login History under Manage Users on the left Menu as highlighted in the screenshot below.
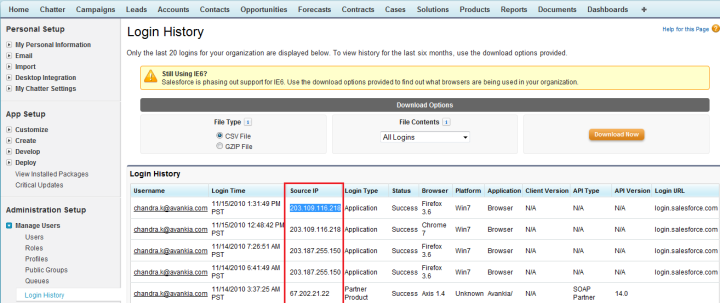
- You will be presented with the list of login history. Make note of IP address for your login. IP addresses for all the logins are listed in the page as highlighted in the screenshot below.
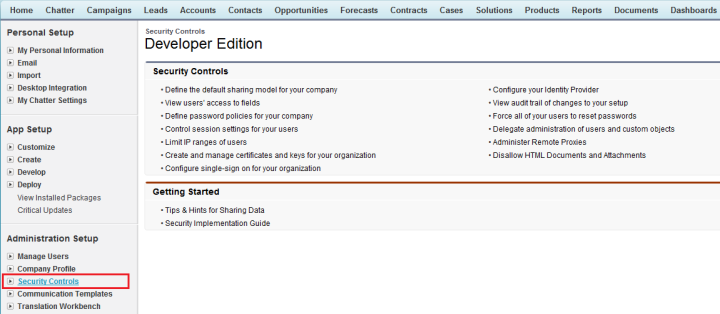
- Scroll Down on the page and click on Security Controls on the left menu Under Administration Setup as highlighted in the Screenshot shown below.
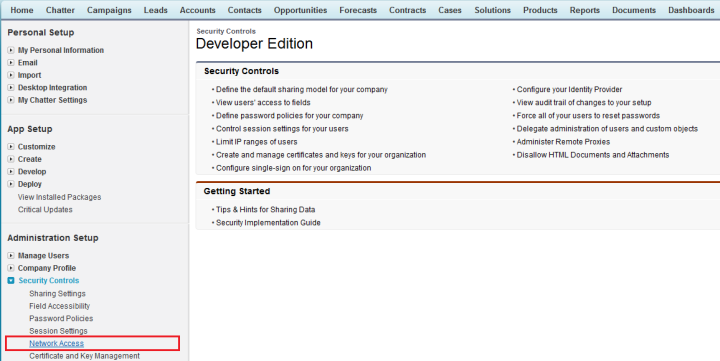
- Click on Network Access under Security Controls on the left Menu as highlighted in the screenshot below.
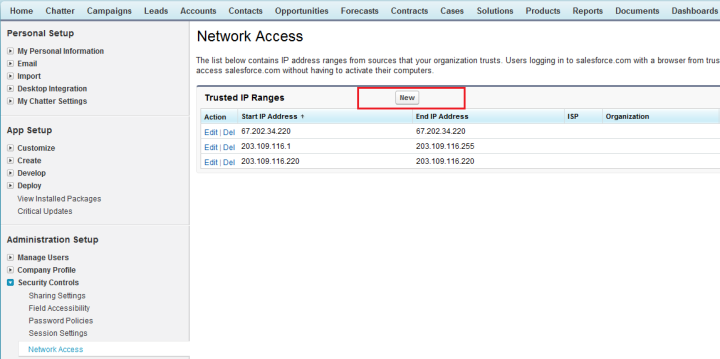
- Click on New button in the Network Access page. The screenshot with new button is displayed below.
- Enter the IP Address we had made note of from Login History for Start IP Address and End IP Address and Click on Save button. A window with start and end IP Address is shown below.

- Once you click on Save button, the IP will be listed in Trusted IP Range as highlighted below.

- Security Token for your IP is added in Salesforce, and you are ready to access Salesforce from your computer.
Overview
Content Tools